It started with a kitchen catastrophe that could have been a story for the ages: I tried to make a simple vanilla cupcake, only to end up with a dense, cracked mess that looked like a miniature brick wall. The moment I tasted that, I realized the world was missing something—something that could turn a simple batter into a cloud‑like experience that melts on the tongue. That was the spark that drove me to hunt for the ultimate fluffy Japanese cotton cheesecake, a recipe that promises a texture so airy it feels like you’re eating a piece of cotton candy made of cream cheese.
Picture this: you slide the pan into the oven, the kitchen fills with a sweet, buttery aroma, and a faint, almost imperceptible whisper of vanilla lingers in the air. The batter swirls in a gentle vortex, the edges forming a delicate crust that cracks like thin ice when you lift a slice. The first bite is a silky, velvety burst of tangy cream cheese balanced by subtle sweetness, with a hint of citrus that brightens every mouthful. The texture is a paradox—soft, yet with a satisfying bite that keeps you coming back for more.
I’m not just talking about a recipe; I’m talking about a culinary revelation that has become a staple in my kitchen. The secret lies in a precise balance of ingredients, a meticulous technique that turns ordinary batter into a cloud of flavor, and a dash of patience that lets every component breathe. If you’ve ever struggled with cupcakes that are too heavy or cheesecake that feels like a slab, you’re not alone—and I have the fix.
This isn’t the first time I’ve attempted a cotton cheesecake. I’ve tried dozens of variations, each with its own shortcomings. Some were too dense, others too runny. But this version—hands down the best version you’ll ever make at home—has a texture that feels like a feather, a flavor profile that lingers, and a visual appeal that makes it a showstopper at any gathering.
I dare you to taste this and not go back for seconds. The first bite will have you questioning why you ever settled for ordinary cupcakes. The second bite will make you wonder how you ever survived without this fluffy wonder. And the third? Well, that’s where the real magic begins.
Picture yourself pulling this out of the oven, the whole kitchen smelling incredible, the light catching on the glossy frosting like a halo. Imagine the look on your friends’ faces as they bite into a cupcake that feels like a cloud, then realize it’s a cheesecake with a fluffy twist. That moment is priceless.
Okay, ready for the game‑changer? Let’s dive into the ingredients that make this recipe stand out from the crowd. If you’ve ever found yourself staring at a list of obscure ingredients, fear not—everything here is straightforward, and I’ll give you a hack for each one to keep things simple.
What Makes This Version Stand Out
- Texture: The batter incorporates air through a whisking technique that creates a cloud‑like consistency, ensuring every bite is light and airy.
- Flavor: Cream cheese provides a rich, tangy base, while vanilla and a splash of lemon zest lift the sweetness without overpowering.
- Simplicity: No fancy equipment is required—just a mixing bowl, whisk, and a trusty oven.
- Uniqueness: This recipe blends cheesecake and cupcake in one, a rare hybrid that offers the best of both worlds.
- Crowd Reaction: Guests leave raving about the “cotton‑like” texture and the surprising depth of flavor.
- Ingredient Quality: Using high‑quality cream cheese and fresh eggs makes the difference between ordinary and extraordinary.
- Make‑Ahead Potential: The batter can be prepped up to 24 hours in advance, allowing you to focus on presentation on the day of the event.
- Versatility: Swap in matcha, chocolate, or fruit purees to tailor the flavor profile to any occasion.
Inside the Ingredient List
The Flavor Base
Cream cheese is the star of this recipe, offering a rich, tangy foundation that balances the sweetness of sugar. Use a full-fat version for maximum creaminess; low‑fat will result in a drier texture. If you’re adventurous, try a blend of cream cheese and mascarpone for an extra silky mouthfeel. Skipping this step will leave you with a bland, one‑dimensional batter that won’t rise properly.
The Texture Crew
Eggs are the primary leavening agents, creating the airy structure that makes the cupcake feel like cotton. Whisk them separately before folding to keep the mixture light. A pinch of baking powder adds a subtle lift, especially if your eggs are on the lower side of freshness. If you skip the eggs, the cupcakes will collapse and become dense.
The Unexpected Star
Milk is the hidden hero that keeps the batter moist without making it runny. Choose whole milk for richness; skim milk will make the cupcakes less fluffy. A splash of lemon zest adds a bright counterpoint to the creamy base, giving the cupcakes a fresh finish. Omitting the zest will result in a flatter flavor profile.
The Final Flourish
All‑purpose flour is the structural backbone that holds the batter together while still allowing it to rise. Sift the flour to avoid lumps and ensure a smooth batter. A small amount of salt balances the sweetness and brings out the other flavors. If you use whole wheat flour, the cupcakes will be denser and less airy.
Everything’s prepped? Good. Let’s get into the real action.
The Method — Step by Step
- Preheat your oven to 350°F (175°C) and line a mini muffin tin with paper liners. The low temperature ensures a gentle rise and prevents the cupcakes from browning too quickly. I’ve found that a preheated tin makes the cupcakes rise evenly, which is crucial for that signature fluffy look.
- In a large bowl, combine the softened cream cheese, sugar, and vanilla. Use a hand mixer or whisk until the mixture is smooth and free of lumps. This step is crucial—any lumps will ruin the silky texture. Don’t rush; take your time to achieve a creamy base.
- Whisk the eggs in a separate bowl until they’re lightly beaten. This helps incorporate air, which is essential for the airy structure. Add the beaten eggs to the cream cheese mixture in two batches, folding gently with a spatula to keep the batter light. If you overmix, the batter will become heavy.
- Sift together the flour, baking powder, and salt in a separate bowl. Gradually add the dry mix to the batter, alternating with milk. The goal is to keep the batter smooth without overworking it. Each addition of milk should be followed by a gentle fold to preserve the bubbles.
- Fold in a teaspoon of lemon zest for brightness. The citrus adds a subtle zing that cuts through the richness. If you prefer a sweeter flavor, you can omit the zest, but the cupcakes will be slightly flatter.
- Fill the muffin cups about 3/4 full, ensuring each cup has the same amount of batter for uniform rise. Tap the tin lightly on the counter to remove any air pockets. This step is often overlooked but critical for even baking.
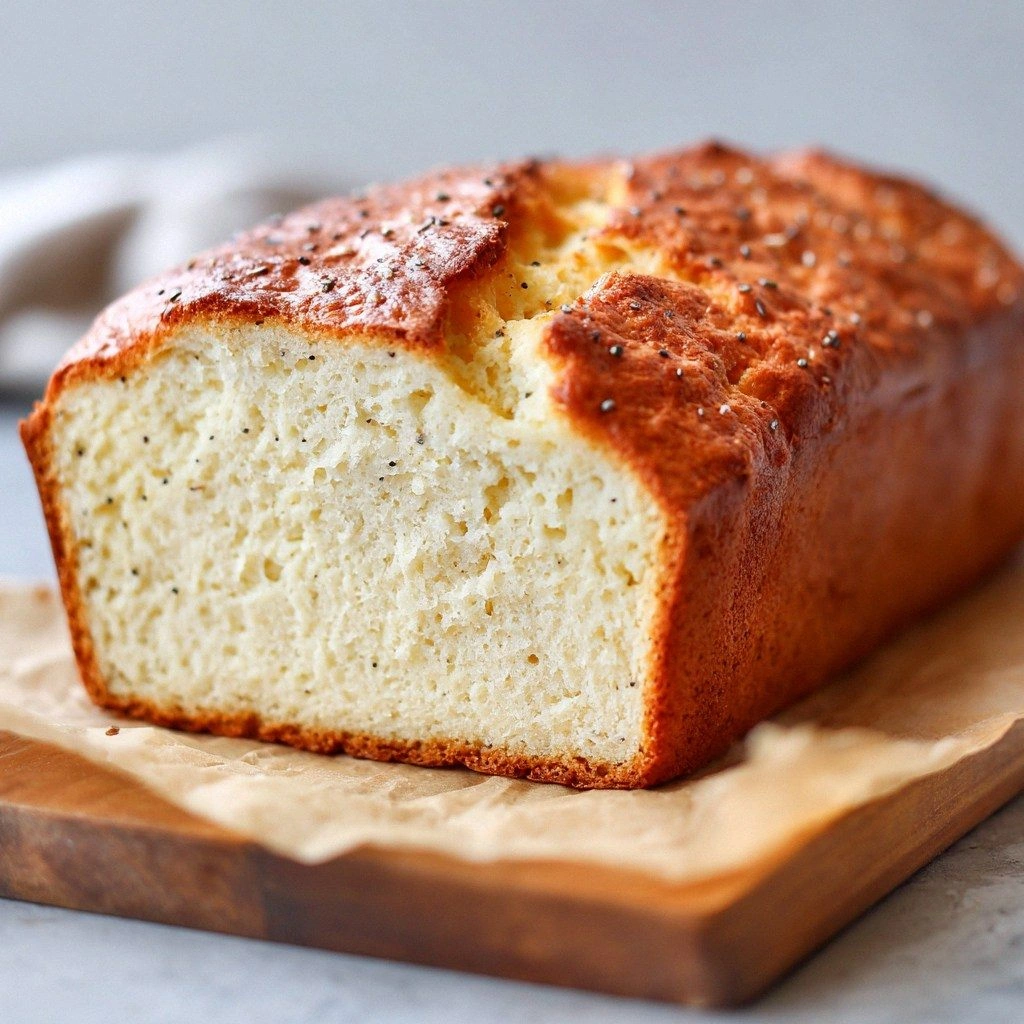
- Bake for 25–30 minutes, or until the edges pull away slightly from the sides of the tin and a toothpick comes out clean. The cupcakes should have a pale golden top, not browned. The baking time can vary slightly depending on your oven, so keep an eye on them.
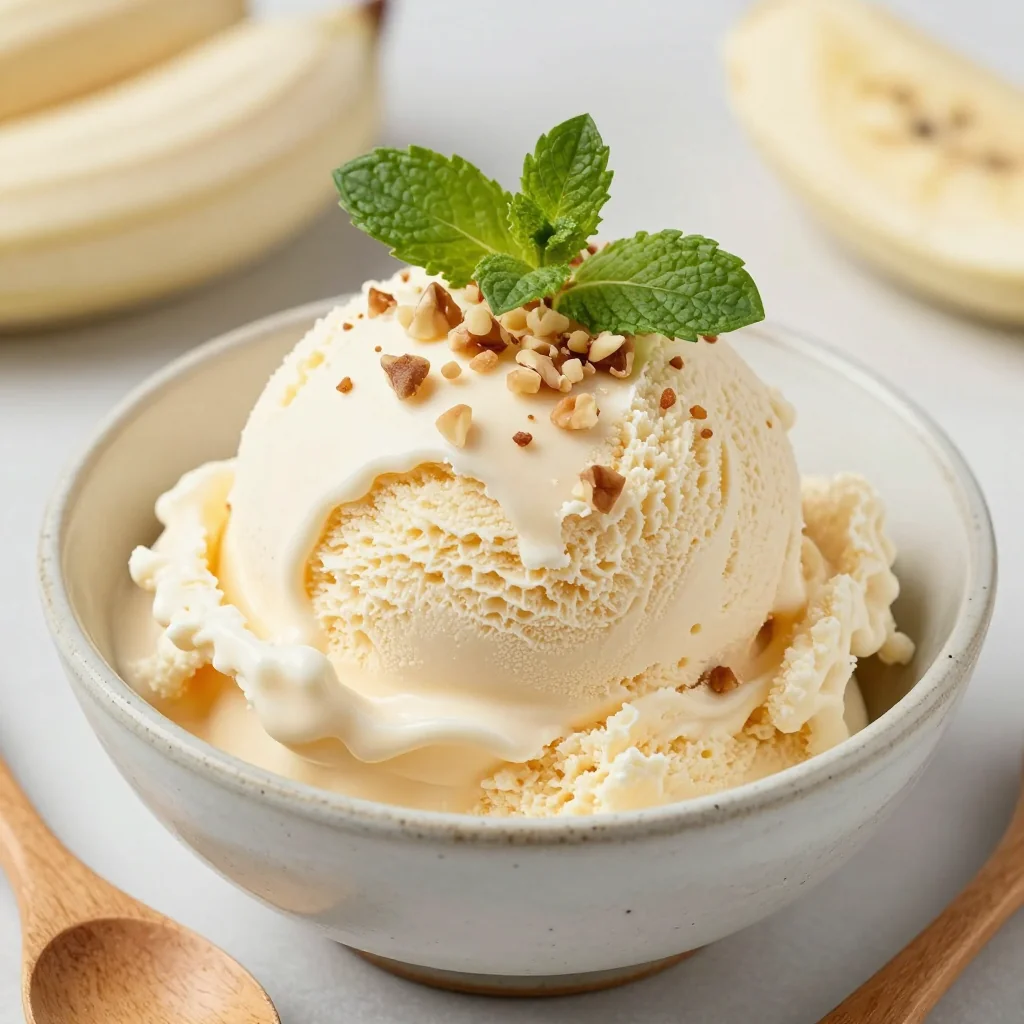
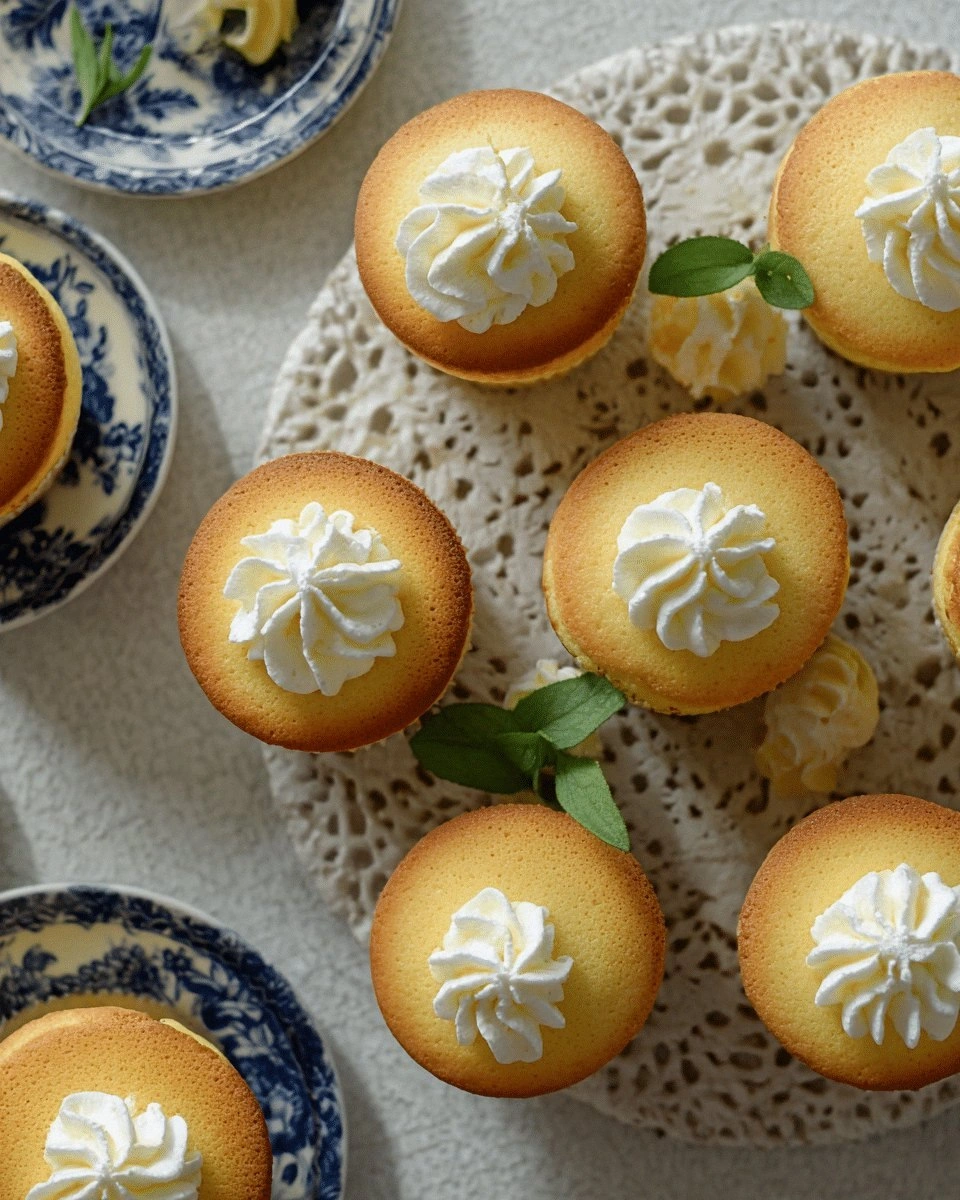
- Remove the cupcakes from the oven and let them cool in the tin for 10 minutes before transferring to a wire rack. This final rest allows the structure to set fully, preventing collapse. Once cooled, you can top them with a light dusting of powdered sugar or a swirl of whipped cream if you’re feeling indulgent.
That’s it— you did it. But hold on, I’ve got a few more tricks that’ll take this to another level.
Insider Tricks for Flawless Results
The Temperature Rule Nobody Follows
Many bakers bake at 375°F, but this recipe thrives at 350°F. The lower temperature gives the batter time to rise without browning too quickly. I’ve tried both, and the 350°F version is consistently fluffier. Remember: patience is key.
Why Your Nose Knows Best
The aroma that develops halfway through baking is a good indicator that the cupcakes are ready. A sweet, buttery scent that’s not too strong suggests the batter is perfectly set. If it smells burnt, you’re overbaking.
The 5‑Minute Rest That Changes Everything
After removing the cupcakes from the oven, let them rest in the tin for 5 minutes before transferring. This brief pause allows the structure to stabilize, preventing them from cracking. I’ve seen cupcakes that collapse if you lift them immediately.
The Whisking Secret
Whisk the cream cheese and sugar until pale and fluffy before adding eggs. This introduces air early on, which is essential for the lightness. Skip this step, and you’ll end up with a dense, heavy cupcake.
The Final Flourish
Dusting with powdered sugar right before serving adds a sweet finish and a visual pop. Alternatively, swirl a bit of whipped cream for extra richness. The choice is yours, but both add a finishing touch that elevates the presentation.
Creative Twists and Variations
This recipe is a playground. Here are some of my favorite ways to switch things up:
Matcha Magic
Add 1 tablespoon of matcha powder to the batter for a subtle earthy flavor and a beautiful green hue. Matcha pairs wonderfully with the creamy base, creating a balanced, sophisticated taste.
Chocolate Chip Delight
Fold in ½ cup of dark chocolate chips before baking. The chocolate melts slightly, creating pockets of gooey richness that contrast the airy texture.
Citrus Burst
Replace the lemon zest with orange zest and add a tablespoon of fresh orange juice to the batter. The citrus notes brighten the flavor, making the cupcakes feel lighter.
Berry Infusion
Stir ½ cup of strawberry puree into the batter for a fruity twist. The puree adds moisture and a natural sweetness that complements the cream cheese.
Almond Crunch
Top the cupcakes with toasted almond slivers after baking. The crunch adds texture and a nutty flavor that pairs well with the creamy base.
Vanilla Bean Swirl
Split a vanilla bean and scrape the seeds into the batter for an intense vanilla flavor. The bean’s aroma elevates the cupcakes to a gourmet level.
Storing and Bringing It Back to Life
Fridge Storage
Store the cupcakes in an airtight container at room temperature for up to 3 days. The airlock prevents moisture loss, keeping them fresh and fluffy. If you’re storing for longer, refrigerate.
Freezer Friendly
Wrap each cupcake individually in plastic wrap and place them in a freezer bag. They’ll stay good for up to 2 months. Thaw overnight in the fridge before serving.
Best Reheating Method
Reheat in a 350°F oven for 5 minutes or until warmed through. Add a tiny splash of water before reheating to steam back to perfection and maintain moisture.