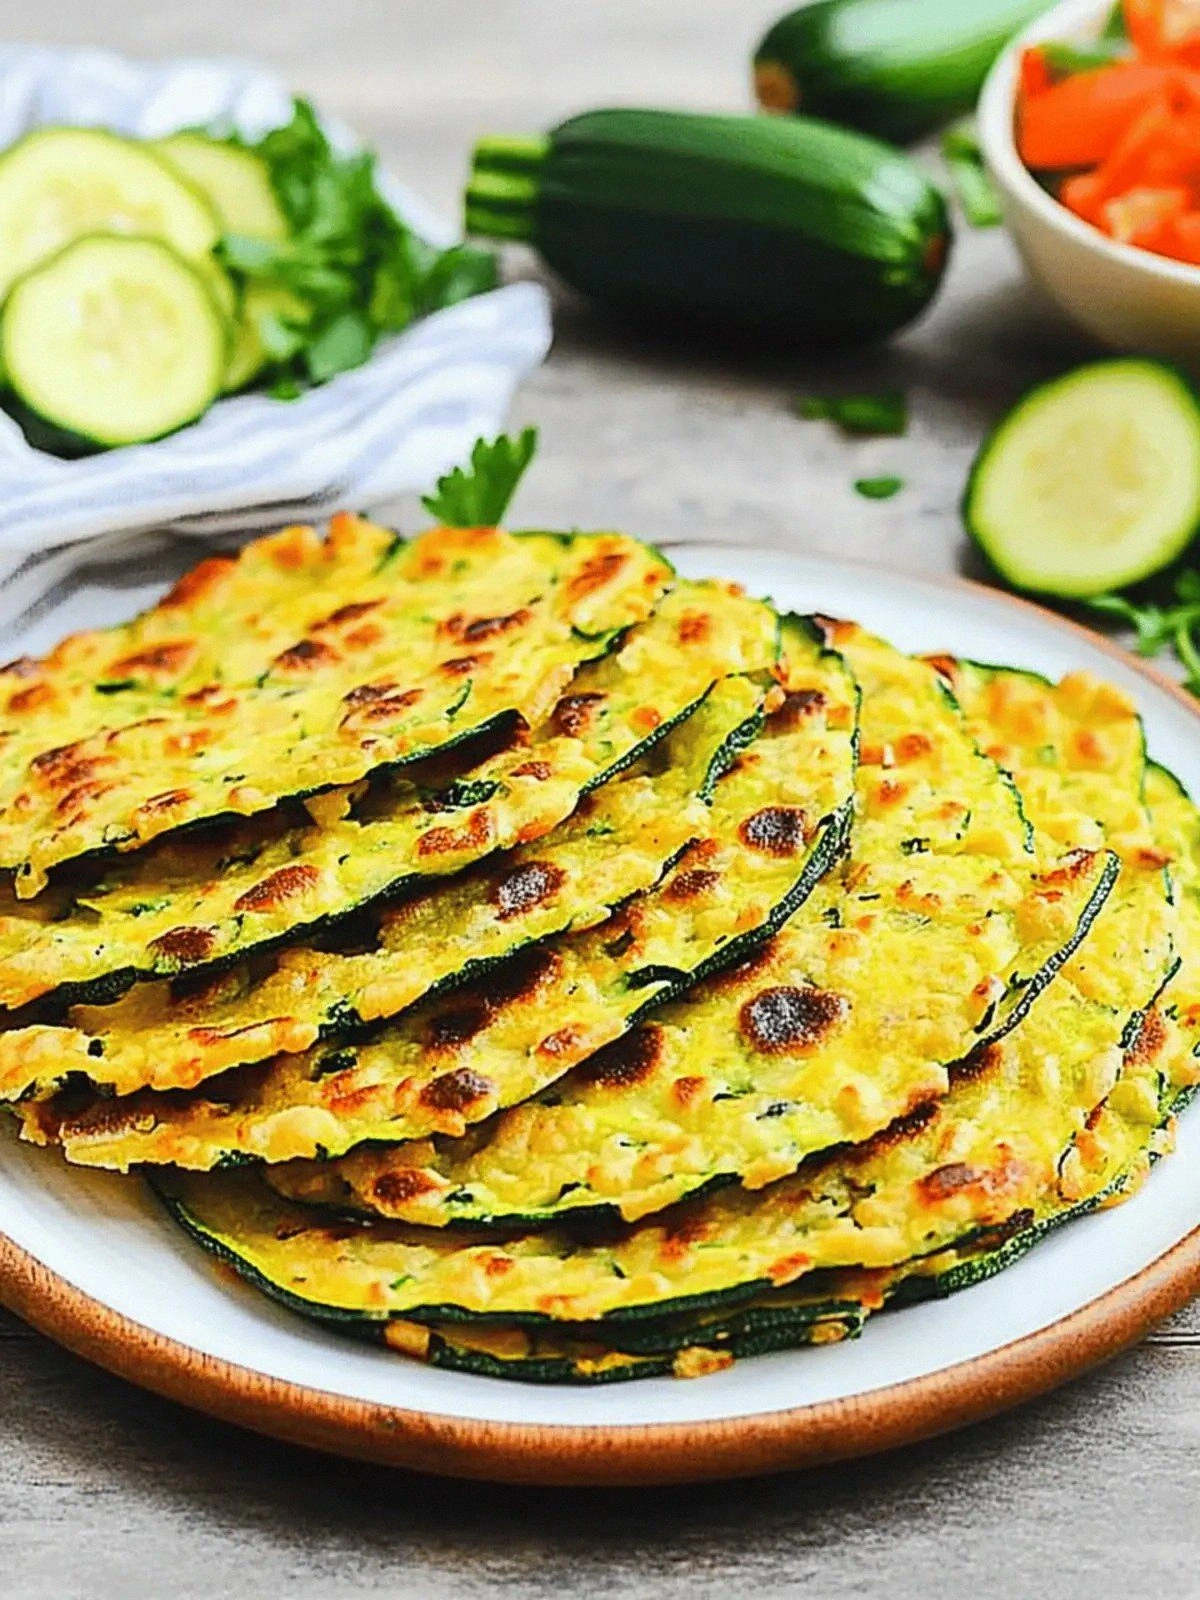
I remember the night it all went sideways. My friends and I had planned a taco fiesta, the kind that turns a simple dinner into a full‑on celebration. We had the tortillas, the fillings, the salsa—everything. Then I decided to do something bold: replace the flimsy corn tortillas with a fresh, airy shell made from zucchini and masa harina. The moment those green spirals hit the skillet, the kitchen filled with a scent that felt like summer in a bowl, and I knew I had stumbled onto something spectacular.
The first bite was a revelation. A tender, slightly sweet zucchini base, layered with a subtle corn‑flour crunch, was kissed by a whisper of salt and pepper. The herbs danced on the palate, and the texture was like a soft cloud that held its shape—no soggy mess, no brittle shards. I could hear the gentle sizzle of the pan, feel the heat radiating from the skillet, see the golden edges forming, and taste the bright, fresh burst of the filling all at once. It was a sensory symphony that made my taste buds do a happy dance.
What makes this version so different? First, it’s the marriage of masa harina and zucchini—two ingredients that, when combined, create a surprisingly light and versatile shell. Second, the seasoning is minimal but mighty, allowing the natural flavors to shine. Third, the method keeps the shells moist yet crisp, a balance that most recipes fail to achieve. Fourth, the recipe is quick, making it perfect for a spontaneous taco night or a last‑minute dinner. Fifth, it’s a crowd‑pleaser; people who never touch tortillas will be amazed. Sixth, it’s a make‑ahead option that still tastes fresh. And finally, the result is a shell that looks as good as it tastes, turning ordinary tacos into a showstopper.
I dare you to taste this and not go back for seconds. Picture yourself pulling a shell from the oven, the whole kitchen smelling incredible, and watching the steam rise like a culinary cloud. This is hands down the best version you'll ever make at home. If you've ever struggled with taco shells that collapse or taste too dry, you're not alone—and I've got the fix. Stay with me here—this is worth it.
What Makes This Version Stand Out
- Texture: The combination of masa harina and grated zucchini creates a shell that is simultaneously airy and sturdy, holding fillings without becoming soggy.
- Flavor: Minimal seasoning lets the natural sweetness of zucchini and the earthy depth of masa shine through, complemented by a subtle pepper kick.
- Speed: From prep to plate, you’re looking at under 45 minutes, making it ideal for spontaneous gatherings.
- Make‑Ahead: The shells can be assembled ahead of time, refrigerated, and baked fresh when you’re ready to serve.
- Health: Low in fat and carbs compared to traditional tortillas, yet still satisfying and full of nutrients.
- Visual Appeal: The glossy, golden edges and vibrant green interior make for Instagram‑ready tacos that wow the eyes.
- Versatility: Works with any filling—be it grilled chicken, black beans, or roasted veggies—so you can keep it fresh every time.
- Kid‑Friendly: The mild flavor and soft texture are a hit with younger diners who might otherwise shy away from tacos.
Alright, let's break down exactly what goes into this masterpiece…
Inside the Ingredient List
The Flour Foundation
Masa harina is the star of this recipe. It’s a corn flour that gives the shells their characteristic color and slight nutty flavor. It also provides the right binding properties that allow the zucchini to hold together without a lot of oil. If you skip masa harina, the shells will fall apart like a crumbling cookie. For an authentic taste, look for masa harina labeled “corn masa harina” rather than a generic corn flour.
The Vegetable Core
The zucchini is the heart of the shell. Fresh, medium‑sized zucchini works best; they’re firm enough to hold their shape yet tender when cooked. Grate the zucchini finely, then press out the moisture. This reduces excess water that can make the dough soggy. If you’re in a pinch, you can use frozen zucchini, but thaw it first and squeeze out the liquid.
The Seasoning Blend
A pinch of salt and pepper is all you need to bring out the flavors. The herbs and spices—like cumin, smoked paprika, and a touch of chili powder—add depth without overwhelming the delicate zucchini. If you’re a spice lover, feel free to double the amount of chili powder for a kick. On the other hand, if you’re sensitive to heat, you can leave it out entirely and still enjoy a delicious shell.
The Final Flourish
A splash of water or broth at the end of mixing helps the dough come together without becoming sticky. This small addition keeps the shells moist inside while allowing the exterior to crisp up nicely in the skillet. If you’re using a non-stick pan, you can skip the oil, but a light brush of oil will give the shells a beautiful sheen.
Everything's prepped? Good. Let's get into the real action…
The Method — Step by Step
- Start by grating the zucchini into a fine shred. Place it in a clean kitchen towel or a nut‑milk bag and squeeze out as much liquid as possible. This step is crucial; any leftover moisture will make the dough runny. While you’re doing this, set a bowl of ice water nearby for a quick chill.
- In a large mixing bowl, combine the masa harina, salt, pepper, and your chosen herbs and spices. Stir until the dry ingredients are evenly distributed. The aroma that begins to emerge is already a promise of the flavor to come.
- Add the grated zucchini to the dry mix and stir until a dough forms. If the mixture feels dry, add a tablespoon of water or broth at a time. The dough should be firm enough to hold its shape but not so dry that it crumbles.
- Divide the dough into 8 equal portions (for 4 servings, use 2 portions each). Shape each portion into a thin disk about 3 inches in diameter. If you’re worried about the shells cracking, roll them between parchment paper to keep them smooth.
- Heat a non‑stick skillet over medium heat and lightly brush it with oil. Place one shell in the skillet and cook for 2–3 minutes on each side, until golden brown and slightly crisp. The edges will begin to lift, giving you a visual cue that they’re ready. Flip only once to maintain shape.
- Repeat the cooking process with the remaining shells, keeping them warm in a low‑heat oven (around 200°F) while you finish. The key is not to overcook; you want a soft interior with a crisp exterior.
- Once all shells are cooked, let them rest for a minute on a paper towel to absorb excess oil. This step keeps them from becoming greasy when you fill them.
- Fill each shell with your favorite taco filling—think grilled shrimp, shredded beef, or a hearty bean mix. Top with fresh cilantro, diced onions, a squeeze of lime, and a dollop of guacamole for the ultimate crunch.
- Serve immediately, or if you’re prepping ahead, cover the shells with foil and refrigerate for up to 24 hours. Reheat in a skillet for a few seconds on each side before serving to restore the crispness.
- Enjoy the result—a shell that feels like a cloud, tastes like a fiesta, and looks like a masterpiece. This is the moment of truth, and it’s pure magic.
That's it—you did it. But hold on, I've got a few more tricks that'll take this to another level…
Insider Tricks for Flawless Results
The Temperature Rule Nobody Follows
Most people cook at a medium‑high setting, but that can burn the outside while leaving the inside undercooked. I recommend medium heat, which gives the shells enough time to develop a golden crust while staying tender inside. If you’re using a cast‑iron skillet, preheat it for a full minute before adding the shells.
Why Your Nose Knows Best
The aroma of the first shell hitting the pan is a clear indicator that the heat is just right. When you smell the subtle toasty scent, you know the oils are sizzling and the dough is cooking evenly. Trust your nose—it’s a reliable guide.
The 5‑Minute Rest That Changes Everything
After cooking, let the shells rest for exactly five minutes on a wire rack. This allows steam to escape, preventing sogginess. The rest also gives the flavor to settle, making each bite more cohesive.
Keep the Skillet Clean
A clean skillet prevents sticking and ensures a uniform crust. After each batch, wipe the pan with a paper towel and reapply a light brush of oil. This simple habit saves time and frustration.
Use a Light Brush of Oil
Even though the shells are made from zucchini, a tiny amount of oil gives them that desirable shine. A teaspoon of avocado oil is enough. This also helps the shells crisp up without absorbing too much fat.
Creative Twists and Variations
This recipe is a playground. Here are some of my favorite ways to switch things up:
Smoky Chipotle Shell
Add a teaspoon of chipotle powder to the dough for a smoky, slightly spicy flavor that pairs wonderfully with grilled pork.
Herbed Mediterranean Shell
Stir in fresh oregano and a dash of lemon zest. Serve with a feta‑cucumber salad for a Mediterranean twist.
Crispy Coconut Shell
Fold in a tablespoon of shredded coconut into the dough. The shells will have a subtle sweetness and a tropical aroma, ideal for a beach‑inspired taco night.
Spicy Sriracha Shell
Mix in a tablespoon of sriracha sauce into the dough for an extra kick. Pair with a cool avocado lime sauce to balance the heat.
Vegan Power Shell
Use a vegan-friendly masa harina and serve with a chickpea‑based filling. The shells stay firm and flavorful even with plant‑based proteins.
Storing and Bringing It Back to Life
Fridge Storage
Store cooked shells in an airtight container in the refrigerator for up to 24 hours. Keep them on a paper towel to absorb moisture and prevent sogginess. Reheat in a skillet for 30 seconds on each side.
Freezer Friendly
Freeze cooked shells on a parchment paper‑lined tray until solid, then transfer to a freezer bag. They’ll keep for up to 2 months. Thaw in the refrigerator overnight and reheat as above.
Best Reheating Method
To revive the crispness, add a splash of water to the skillet, cover, and let steam for 30 seconds. This tiny trick restores moisture and gives the shells a fresh, buttery finish.