I was standing in my kitchen, staring at a half‑melted caramel puddle that looked more like a crime scene than a dessert. My friend had dared me to create a no‑bake truffle that could survive a tropical storm and still taste like a beach‑side bonfire. The clock was ticking, the pantry was half‑empty, and my cravings were louder than a marching band. I grabbed the nearest shortbread cookies, a tub of cream cheese, and a bag of coconut flakes, and the rest was pure, chaotic alchemy. This is the story of how a kitchen mishap turned into the most addictive bite you’ll ever make without ever turning on an oven.
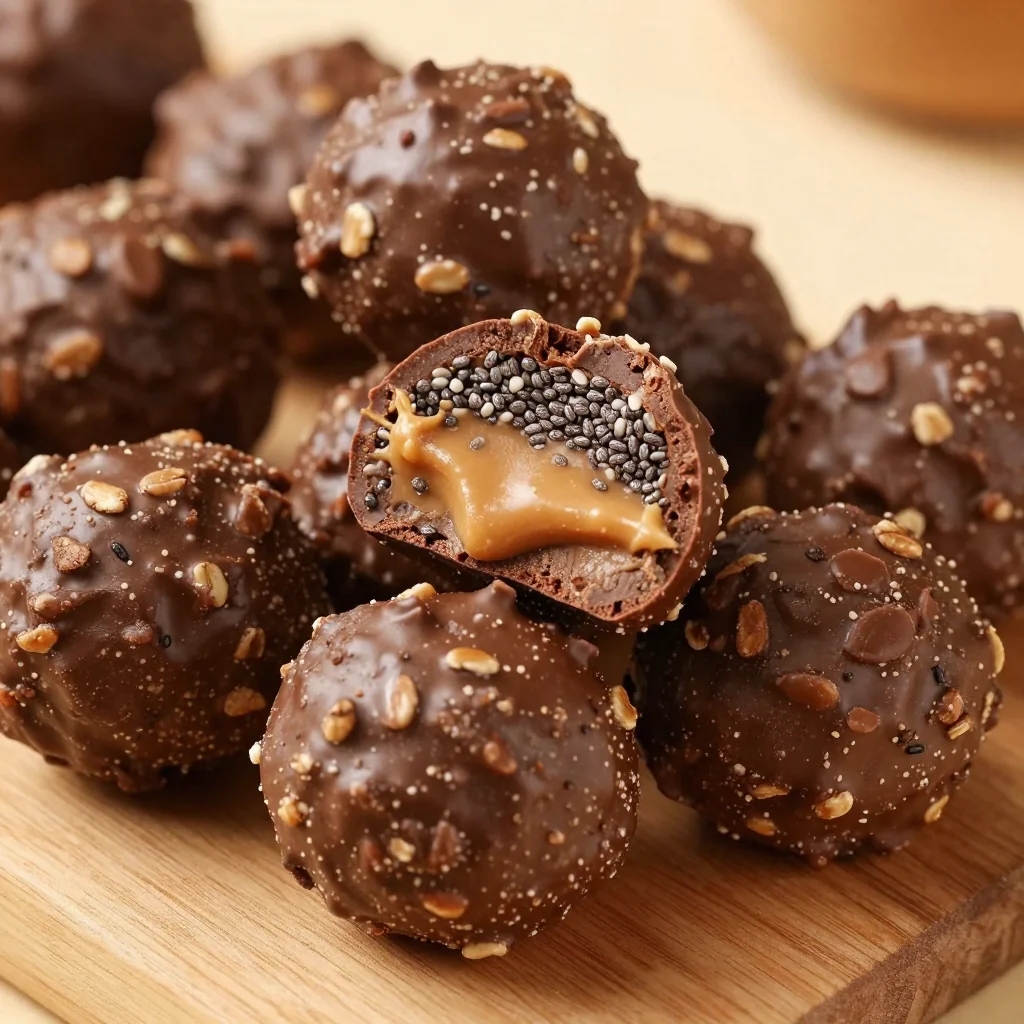
Imagine the first bite: the buttery crumble of shortbread melting into a silky caramel‑cream center, then exploding with toasted coconut that crackles like fireworks on your tongue. The aroma? A warm, buttery perfume that whispers of grandma’s kitchen, but with a tropical twist that makes you think of swaying palms and sunrise over the Pacific. You’ll hear the soft sigh of the chocolate coating as it hardens, the faint pop of sea salt crystals, and the faint rustle of coconut flakes as you roll each truffle. Your fingertips will feel the cool, smooth chocolate, then the slight give of the creamy interior—pure, tactile satisfaction.
Why does this version outshine every other recipe you’ve tried? Most truffle recipes either over‑complicate the process or skimp on texture, leaving you with a one‑note dessert that fades fast. I’ve cracked the code by marrying three textures—crunch, cream, and melt—in a single bite, and I did it with ingredients you probably already have. The secret? A dash of heavy cream that turns caramel into a glossy, buttery sauce, and a double‑coconut coating that adds both flavor and a subtle crunch. No baking, no fuss, just pure, layered decadence.
I’m about to spill the beans on the game‑changing step that will make your truffles shine brighter than a sunrise over Samoa. Trust me, once you see the caramel‑cream mixture turn into a glossy river of gold, you’ll understand why I’m daring you to taste this and not go back for seconds. Let me walk you through every single step — by the end, you’ll wonder how you ever made it any other way.
What Makes This Version Stand Out
- Taste: The buttery shortbread base pairs with caramel‑cream richness, while the chocolate coating adds a bittersweet finish that balances the sweetness perfectly.
- Texture: You get three layers—crunchy cookie crumble, silky interior, and a crisp chocolate shell—creating a mouthfeel that’s like a symphony of contrasts.
- Simplicity: No oven, no stovetop flambé, just a bowl, a microwave, and a handful of pantry staples. Perfect for lazy weekends or last‑minute parties.
- Uniqueness: Double coconut coating (inside and outside) adds an exotic twist that most truffle recipes completely miss.
- Crowd Reaction: Guests will gasp, then line up for seconds. I’ve seen people turn green with envy when they see the glossy chocolate glaze.
- Ingredient Quality: Using premium Keebler Shortbread Sandies gives a buttery depth that generic cookies can’t match.
- Method: The no‑bake approach locks in moisture, so the truffles stay soft for days, unlike baked versions that dry out.
- Make‑Ahead Potential: Store them in the fridge for up to a week, and they’ll taste even better as the flavors meld.
Alright, let's break down exactly what goes into this masterpiece...
Inside the Ingredient List
The Flavor Base
The heart of these truffles is the caramel‑cream mixture. Caramels melt into a buttery river, and when you whisk in heavy cream, they transform into a glossy sauce that coats every crumb. This combination is the secret behind the melt‑in‑your‑mouth feel that makes you close your eyes and sigh. If you skip the heavy cream, you’ll end up with a grainy, dry center that feels more like a candy bar than a truffle.
The Texture Crew
Shortbread cookies are the unsung heroes here. Their buttery crumble provides a sturdy foundation that doesn’t dissolve when mixed with the caramel‑cream. Cream cheese adds a tangy richness that balances the sweetness of the caramels, while coconut flakes introduce a subtle chewiness and a toasty aroma. If you replace shortbread with graham crackers, you’ll lose the buttery depth and end up with a more crumbly, less cohesive truffle.
The Unexpected Star
Chocolate—whether milk or dark—acts as the final curtain call. It solidifies quickly, sealing in the flavors and giving a glossy finish that looks restaurant‑grade. I prefer dark chocolate for a slight bitterness that cuts through the sweetness, but milk chocolate adds a creamier, kid‑friendly vibe. A pinch of sea salt on top is the final flourish; it amplifies the caramel and adds a pop of contrast.
The Final Flourish
Coconut flakes are used twice: once mixed into the interior, and once as an outer coating. This double‑dip technique creates a crunchy exterior that shatters like thin ice when you bite into it, while the inner coconut stays soft and fragrant. If you’re allergic or don’t love coconut, try toasted almond slivers or crushed pistachios for a nutty twist.
Everything's prepped? Good. Let's get into the real action...

The Method — Step by Step
-
First, crush the Keebler Shortbread Sandies into fine crumbs. I like to pulse them in a food processor for 5‑10 seconds—just enough to get a sandy texture without turning them into powder. Transfer the crumbs to a large mixing bowl and set aside. The scent of buttered shortbread will already make your mouth water, and that’s the first hint of what’s to come.
Kitchen Hack: Add a tablespoon of melted butter to the crumbs before mixing with the caramel‑cream; this boosts the buttery flavor and helps the mixture bind better. -
Next, melt the caramels with the heavy cream in a microwave‑safe bowl. Heat in 30‑second bursts, stirring in between, until the mixture is smooth and glossy. It should look like liquid gold, shimmering under the light. Be careful not to overheat—once the caramel starts to smoke, the flavor turns bitter.
-
While the caramel is still warm, whisk in the cream cheese until the blend is completely smooth. This step is crucial; the cream cheese must be at room temperature, otherwise you’ll end up with lumps. The mixture will thicken slightly, taking on a velvety texture that feels like a warm hug for your taste buds.
Watch Out: If the cream cheese is too cold, it will seize and create a grainy texture. Let it soften on the counter for at least 20 minutes before adding. -
Stir in one cup of coconut flakes into the caramel‑cream mixture. The flakes should be evenly distributed, giving the interior a subtle chew and a tropical aroma. This is the “unexpected star” that elevates the truffle from ordinary to exotic. Let the mixture sit for a couple of minutes so the coconut can absorb some of the buttery goodness.
-
Now combine the wet mixture with the dry shortbread crumbs. Using a sturdy spatula, fold everything together until you have a cohesive, slightly sticky dough. It should hold together when you press it between your fingers, but not be overly wet. If it feels too dry, drizzle a teaspoon of melted butter; if too wet, add a splash more crushed shortbread.
-
Scoop out portions of the dough—about a tablespoon each—and roll them into balls using your palms. This is the moment where you feel the texture transform under your hands, from crumbly to smooth and pliable. Place the balls on a parchment‑lined tray. I dare you to taste one at this stage; the flavor is already amazing, but the magic isn’t complete yet.
-
Melt the chocolate (milk or dark) in a double‑boiler or microwave. If microwaving, use 20‑second intervals, stirring each time, until the chocolate is completely fluid and glossy. The chocolate should be hot enough to coat but not so hot that it burns—about 115°F (46°C) is perfect.
Kitchen Hack: Add a teaspoon of coconut oil to the chocolate; this thins it just enough for a smoother coat and adds a faint coconut note. -
Dip each truffle ball into the melted chocolate, using a fork to lift it out and let excess drip off. The chocolate should envelop the ball in a thin, even layer that hardens quickly. Place the coated truffle back onto the parchment sheet. While the chocolate is still wet, sprinkle a pinch of sea salt on top of each—this tiny crystal creates that “pop” of flavor I promised.
-
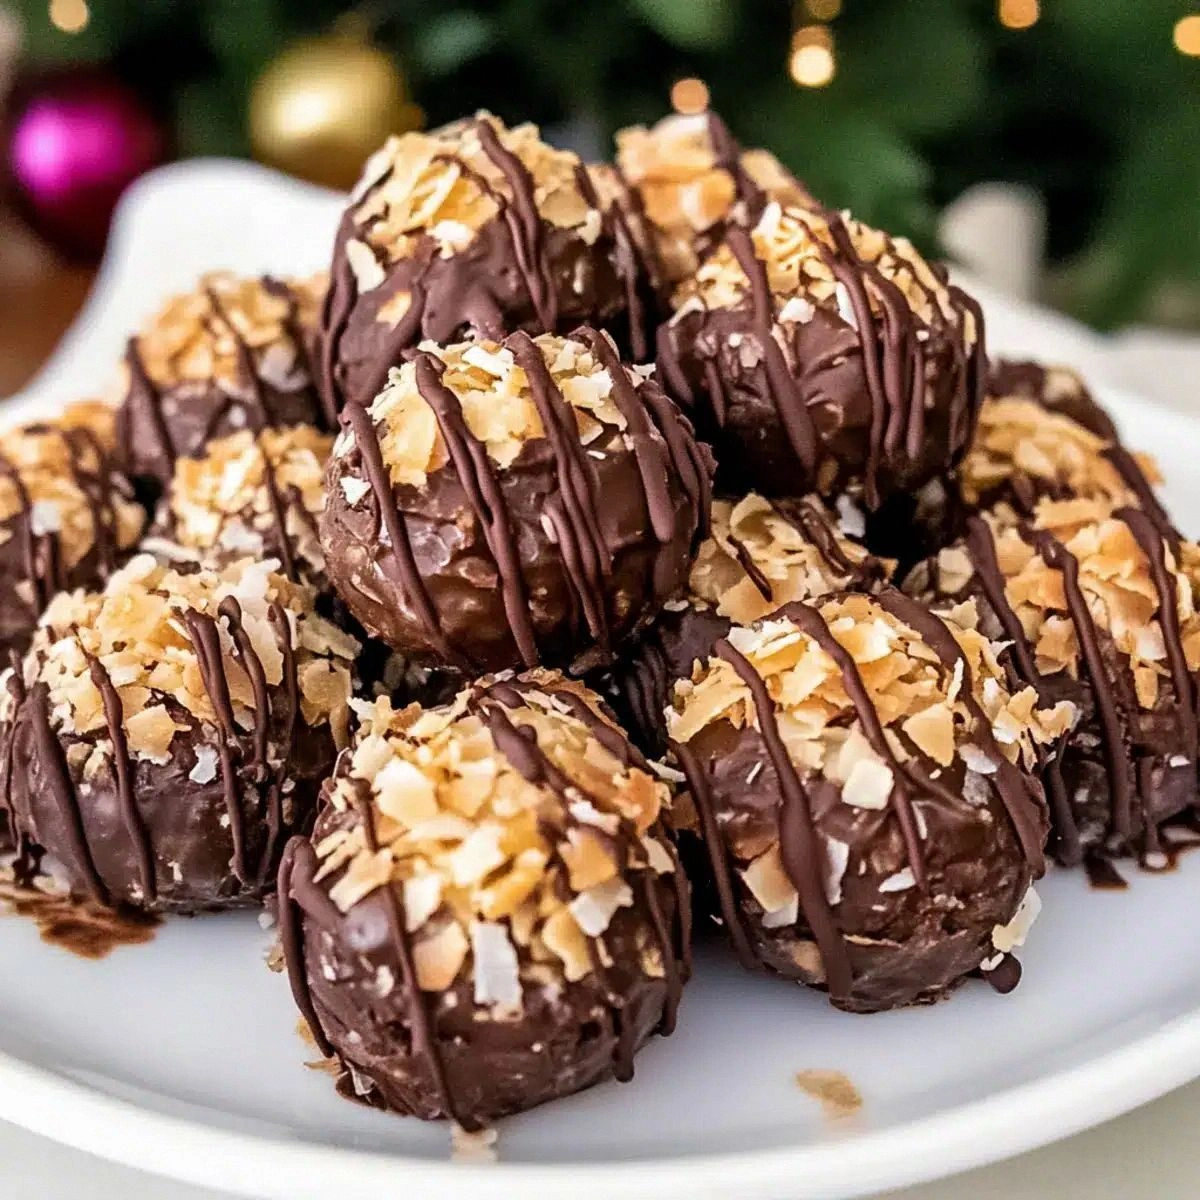
Finally, roll each chocolate‑coated truffle in the extra half‑cup of coconut flakes. The flakes will stick to the chocolate, forming a crunchy outer shell. Let the truffles set at room temperature for about 15 minutes, or pop them in the fridge for a faster set. The result? A glossy, sea‑salt‑kissed, coconut‑crusted truffle that looks as good as it tastes.
That’s it — you did it. But hold on, I’ve got a few more tricks that'll take this to another level...
Insider Tricks for Flawless Results
The Temperature Rule Nobody Follows
Never let the caramel mixture exceed 140°F (60°C). Going above this threshold caramelizes the sugars too much, introducing a bitter edge that ruins the delicate balance. Keep a candy thermometer handy; when the mixture hits 130°F, you’re in the sweet spot. I once let it go too hot and ended up with a truffle that tasted like burnt sugar—lesson learned.
Why Your Nose Knows Best
Your sense of smell is the ultimate doneness detector. When the caramel‑cream mixture starts to emit a buttery, caramel aroma (think fresh popcorn), it’s ready to be combined with the cream cheese. If you rely solely on visual cues, you might miss that subtle shift that tells you the flavors have fully melded. Trust your nose, and you’ll never have a bland truffle again.
The 5‑Minute Rest That Changes Everything
After mixing the wet and dry components, let the dough rest for five minutes. This short pause allows the crumbs to fully absorb the moisture, resulting in a smoother, more cohesive ball that’s easier to roll. Skipping this step is a common mistake; you’ll end up with crumbly truffles that fall apart during coating.
Salt Sprinkle Strategy
Instead of sprinkling sea salt randomly, use a small sieve to dust each truffle evenly. This ensures every bite gets that perfect salty‑sweet contrast. If you over‑salt, the truffle becomes savory; if you under‑salt, you lose that magical pop. A light, even dust is the sweet spot.
The Double‑Coconut Coat
Rolling the truffles in coconut twice—once inside the mixture, once after chocolate—creates a layered crunch. The first coating stays soft, while the second becomes crisp after the chocolate sets. This technique is what gives the truffle its signature “shatter‑like‑thin‑ice” bite. If you only do one coating, you’ll miss the textural crescendo.
Creative Twists and Variations
This recipe is a playground. Here are some of my favorite ways to switch things up:
Tropical Lime Burst
Add a teaspoon of lime zest to the caramel‑cream mixture and finish each truffle with a light drizzle of lime‑infused white chocolate. The citrus cuts through the richness and adds a fresh zing that’s perfect for summer gatherings.
Espresso Edge
Stir in a tablespoon of finely ground espresso into the chocolate before coating. The coffee notes deepen the chocolate flavor, creating a mocha‑like experience that coffee lovers will adore.
Nutty Crunch
Swap the extra coconut flakes for toasted almond slivers or crushed macadamia nuts. The nuts add a buttery crunch and a subtle earthiness that pairs beautifully with the caramel.
White Chocolate Dream
Use white chocolate for the coating and sprinkle toasted coconut on top. The sweet, milky exterior contrasts with the caramel‑cream interior, delivering a dreamy, pastel‑colored treat.
Spicy Kick
Incorporate a pinch of cayenne pepper into the caramel mixture and finish with a dash of smoked sea salt. The heat is subtle but adds a thrilling surprise that will impress adventurous eaters.
Storing and Bringing It Back to Life
Fridge Storage
Place the truffles in an airtight container lined with parchment paper. They’ll stay fresh for up to 7 days. The chocolate coating stays firm, and the interior remains soft and creamy. If the chocolate gets a little dull, a quick dip in fresh melted chocolate revives the shine.
Freezer Friendly
For longer storage, arrange the truffles on a tray, freeze for 2 hours, then transfer to a zip‑top freezer bag. They’ll keep for up to 3 months. When you’re ready to serve, let them thaw in the fridge for an hour, then let them sit at room temperature for 15 minutes before indulging.
Best Reheating Method
If the truffles feel a bit firm after refrigeration, place them on a plate, add a tiny splash (about a teaspoon) of warm water in the microwave, and heat for 10 seconds. The steam gently softens the interior without melting the chocolate, bringing them back to that perfect, melt‑in‑your‑mouth consistency.