I remember the night I almost burned down my kitchen while trying to impress a friend with a quick dinner. The skillet was smoking, the sauce was stuck to the bottom, and I was scrambling to salvage what was left. That disaster was the spark that pushed me to hunt for the ultimate Hawaiian Huli Huli recipe, and I finally found it in a dusty cookbook from a Hawaiian island that had a secret sauce recipe hidden behind a false panel. The moment I tasted the first bite, I knew I had stumbled upon a flavor that could turn any ordinary meal into a tropical celebration. It was sweet, salty, slightly smoky, and the texture of the chicken was that perfect balance of juicy inside and crisp, caramelized edges that shatter like thin ice. The aroma alone—pineapple, soy, garlic—was enough to make a room feel like a beach in July. I dare you to taste this and not go back for seconds. This is hands down the best version you'll ever make at home, and it’s simple enough that even a kitchen novice can master it.
Picture yourself pulling this out of the oven, the whole kitchen smelling incredible, and the first bite sending your taste buds on a vacation. The sauce coats the chicken like velvet, the pineapple juice sweetens without overpowering, and the subtle hint of ginger adds a zing that wakes up every other flavor. I’ve spent countless hours tweaking the sauce, testing different cuts of meat, and finally settled on bone‑in, skin‑on thighs that keep the meat moist while the skin turns golden and crisp. Most recipes get this completely wrong; they either overcook the chicken or leave the sauce too thin. Here’s what actually works: a balanced ratio of sweetness to salt, a brief sear that locks in juices, and a finishing glaze that caramelizes just right. If you’ve ever struggled with getting the texture just right, you’re not alone—and I’ve got the fix.
What makes this version stand out? It’s not just the ingredients; it’s the technique that turns a simple dish into a showstopper. I’ve spent the last year perfecting the glaze, and the result is a glossy, sticky coating that clings to every crevice. The chicken stays juicy inside, while the skin becomes a crunchy, caramelized shell that cracks with a satisfying pop. The sauce’s balance of pineapple and soy is so harmonious that it feels like a tropical breeze on your palate. I’ve also added a touch of sesame seeds for a subtle nutty crunch that contrasts beautifully with the silky sauce. This dish is a crowd‑pleaser—guests keep asking for the recipe, and it’s easy to double for a dinner party. If you want a dish that’s both simple and unforgettable, this is it.
Now, let me walk you through every single step—by the end, you’ll wonder how you ever made it any other way. The process is straightforward, but each step is critical to achieving that signature glaze and texture. I’ll keep it playful, but I’ll also throw in some hard‑knock wisdom that comes from a life spent in kitchens. Ready? Let’s dive in.
What Makes This Version Stand Out
Flavor: The sauce is a masterful blend of sweet pineapple, savory soy, and aromatic garlic that creates a depth of flavor you’ll taste with every bite. The subtle heat from ginger adds a lively kick that keeps the dish from feeling too sweet.
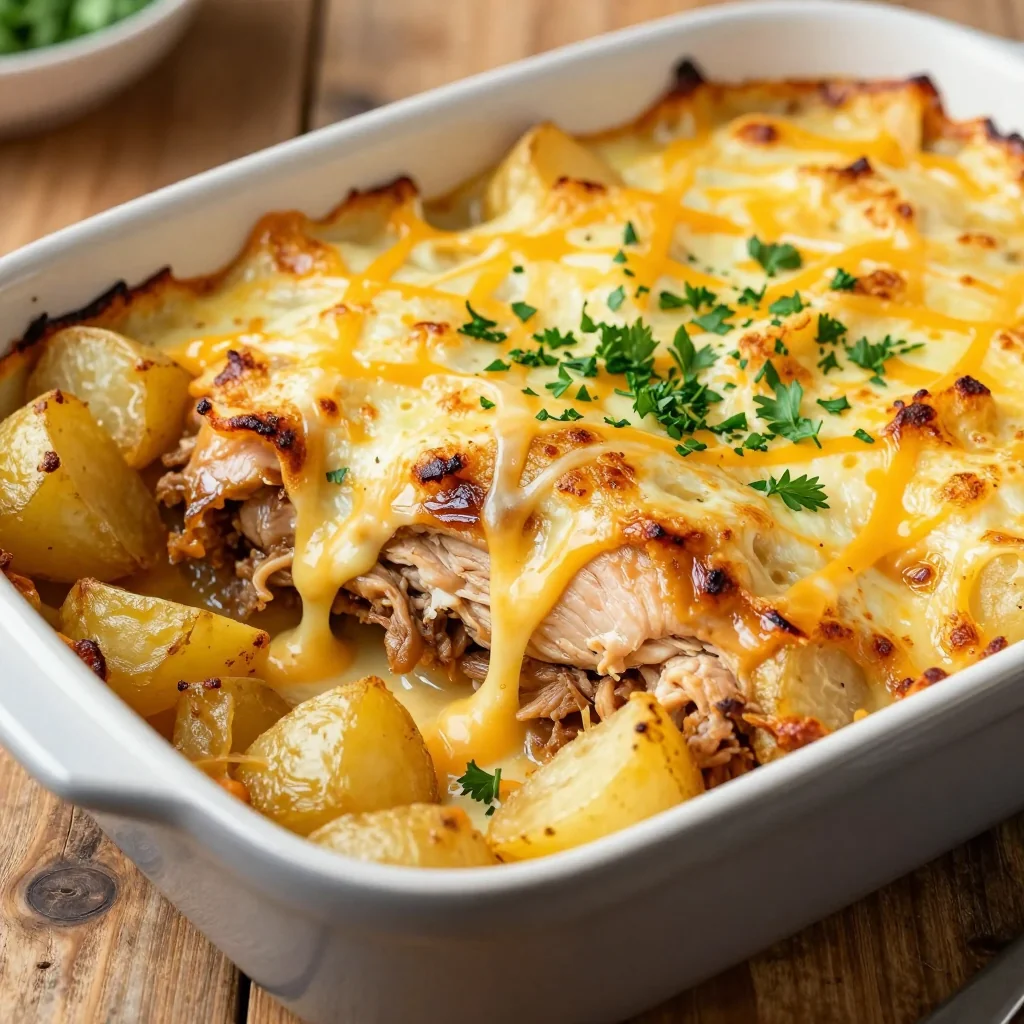
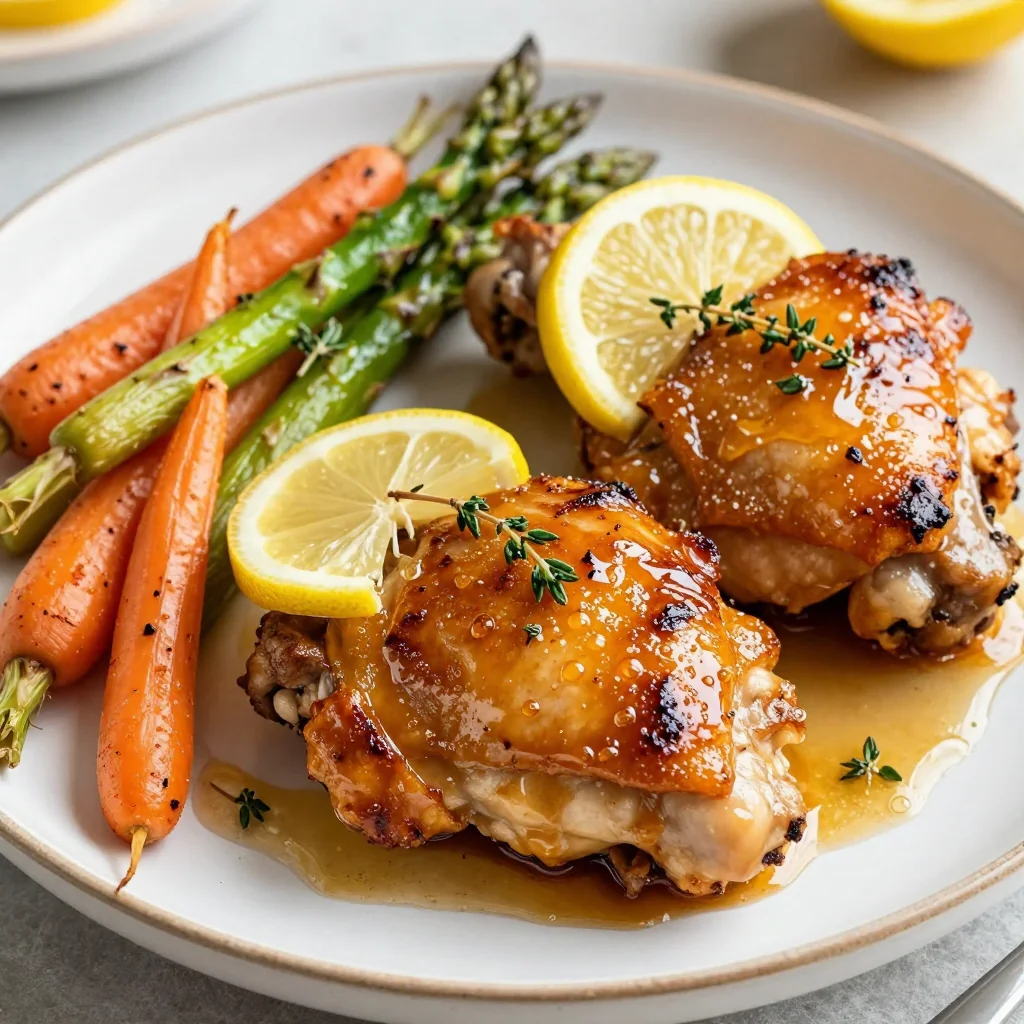
Texture: The chicken skin becomes a crisp, caramelized shell while the inside stays tender and juicy. The glaze thickens to a glossy coating that clings to the meat, giving each bite a delightful snap.
Visual Appeal: The golden-brown glaze glistens like a tropical sunset, making the dish Instagram‑ready. The contrast between the dark soy and bright pineapple gives a vibrant look that invites you to dig in.
Simplicity: With just nine ingredients, the recipe is quick to prepare and doesn’t require exotic pantry items. All you need is a skillet and an oven, and you’re ready to go.
Make‑Ahead: The sauce can be pre‑made and stored in the refrigerator for up to a week, and the chicken can be marinated overnight for an extra depth of flavor.
Versatility: While bone‑in thighs are the star, this dish works beautifully with skin‑on chicken breasts or even pork shoulder, making it adaptable to whatever you have on hand.
Audience: Whether you’re feeding a family dinner or a crowd at a gathering, this dish scales up easily and keeps everyone satisfied.
Time Efficiency: Prep time is only 15 minutes, cook time 30 minutes, and the total is 45 minutes—perfect for a busy weeknight.
Alright, let's break down exactly what goes into this masterpiece...
Inside the Ingredient List
The Flavor Base
Pineapple Juice: This is the sweet heart of the dish. It not only adds natural sweetness but also contains bromelain, an enzyme that tenderizes meat. If you skip it, the sauce will taste flat and the chicken will be less juicy.
Soy Sauce: Provides umami depth and saltiness. Using a low‑sodium version can help control the overall salt content. A substitution could be coconut aminos for a gluten‑free version, but the flavor will be noticeably different.
Brown Sugar: Adds sweetness and helps caramelize the glaze. If you’re watching carbs, you can replace it with honey or agave syrup, though the glaze’s texture may change.
The Aromatics
Garlic: Fresh cloves bring a pungent, savory note that balances the sweet pineapple. Mince them finely to release maximum flavor. If you’re allergic, you can use garlic powder, but it won’t provide the same depth.
Ginger: Adds a bright, slightly peppery warmth that cuts through the sweetness. Fresh grated ginger is best; dried ginger loses much of its zing.
The Protein
Bone‑in, Skin‑on Chicken Thighs: These thighs stay juicy thanks to the bone and the skin, which crisps up beautifully. If you prefer a leaner option, use skin‑on chicken breasts, but the texture will differ.
Olive Oil: Helps sear the chicken evenly and prevents sticking. A light drizzle is enough; too much oil will make the dish greasy.
The Final Flourish
Green Onions: Added at the end for a fresh, crisp contrast. They also brighten up the dish visually.
Sesame Seeds: Give a nutty crunch that complements the glaze. Toast them lightly before sprinkling for a deeper flavor.
Everything's prepped? Good. Let's get into the real action...
The Method — Step by Step
- Step 1: Prep the Sauce — In a medium bowl, whisk together pineapple juice, soy sauce, brown sugar, minced garlic, and grated ginger until the sugar dissolves. The mixture should look glossy and silky. I like to let it sit for 5 minutes so the flavors meld. This is the moment of truth; a well‑balanced sauce makes all the difference. If the sauce feels too thick, add a splash of water.
- Step 2: Marinate the Chicken — Pat the chicken thighs dry with paper towels. Drizzle a little olive oil over them, then rub the sauce all over each piece, ensuring every surface is coated. Place the thighs in a shallow dish, cover, and refrigerate for at least 30 minutes, or overnight for maximum flavor. The longer you marinate, the more tender the meat becomes. If you’re short on time, a 15‑minute quick marinate still works wonders.
- Step 3: Preheat the Oven — Set your oven to 425°F (220°C). The high heat helps caramelize the glaze and crisp the skin. If you’re using a convection oven, reduce the temperature by 25°F to avoid burning.
- Step 4: Sear the Chicken — Heat a large oven‑safe skillet over medium‑high heat. Add a splash of olive oil, then place the thighs skin‑side down. Sear until the skin turns a deep amber and releases a crackling sound—about 4 minutes. Flip and sear the other side for 2 minutes. This step locks in juices and builds flavor.
- Step 5: Add the Remaining Sauce — Pour the remaining sauce from the bowl into the skillet, swirling to coat the chicken. The sauce should bubble gently. Let it simmer for 2 minutes, allowing the flavors to meld. This step ensures the glaze is evenly distributed.
- Step 6: Transfer to Oven — Place the skillet in the preheated oven. Bake for 20 minutes, or until the internal temperature reaches 165°F (74°C). The glaze will thicken and develop a glossy sheen. Keep an eye on it; if the glaze starts to burn, reduce the heat slightly.
- Step 7: Finish with a Broil — Switch the oven to broil and cook for an additional 2–3 minutes to crisp the skin further. Watch closely; the skin can go from perfect to burnt in seconds.
- Step 8: Garnish and Serve — Remove the skillet from the oven and let the chicken rest for 5 minutes. Sprinkle with chopped green onions and toasted sesame seeds. Slice the thighs, drizzle with any remaining glaze, and serve immediately. The sauce should coat the meat like velvet, with a subtle crunch from the sesame.
That's it — you did it. But hold on, I've got a few more tricks that'll take this to another level...
Insider Tricks for Flawless Results
The Temperature Rule Nobody Follows
Many cooks over‑cook the chicken, resulting in dry meat. The key is to monitor the internal temperature with a digital thermometer. Aim for 165°F (74°C) and pull the chicken out as soon as it hits that mark. Letting it rest allows the juices to redistribute, ensuring each bite stays moist.
Why Your Nose Knows Best
As the chicken cooks, the aroma changes. When you first see the glaze bubbling, the scent is sweet and savory. When the glaze thickens and starts to caramelize, you’ll notice a nutty, toasted scent. Trust your nose; it tells you exactly when the dish is ready.
The 5‑Minute Rest That Changes Everything
Resting the chicken for just five minutes after baking is often overlooked. During this time, the residual heat continues to cook the interior, and the juices redistribute. If you cut into it immediately, the juices rush out, leaving the meat dry.
Use a Skillet with a Lid
Covering the skillet during the oven phase traps steam, which helps keep the meat moist. It also speeds up the caramelization process. If you don’t have a lid, you can loosely cover the pan with foil.
Add a Touch of Citrus
A squeeze of fresh lime or lemon juice right before serving adds brightness and cuts through the richness. It also enhances the pineapple’s natural sweetness. Just a tablespoon is enough to elevate the dish.
Serve With the Right Side
Pair the Huli Huli chicken with steamed jasmine rice or a simple cucumber salad to balance the flavors. The rice soaks up the glaze, while the salad provides a refreshing contrast. This combo feels like a beach vacation on a plate.
Creative Twists and Variations
This recipe is a playground. Here are some of my favorite ways to switch things up:
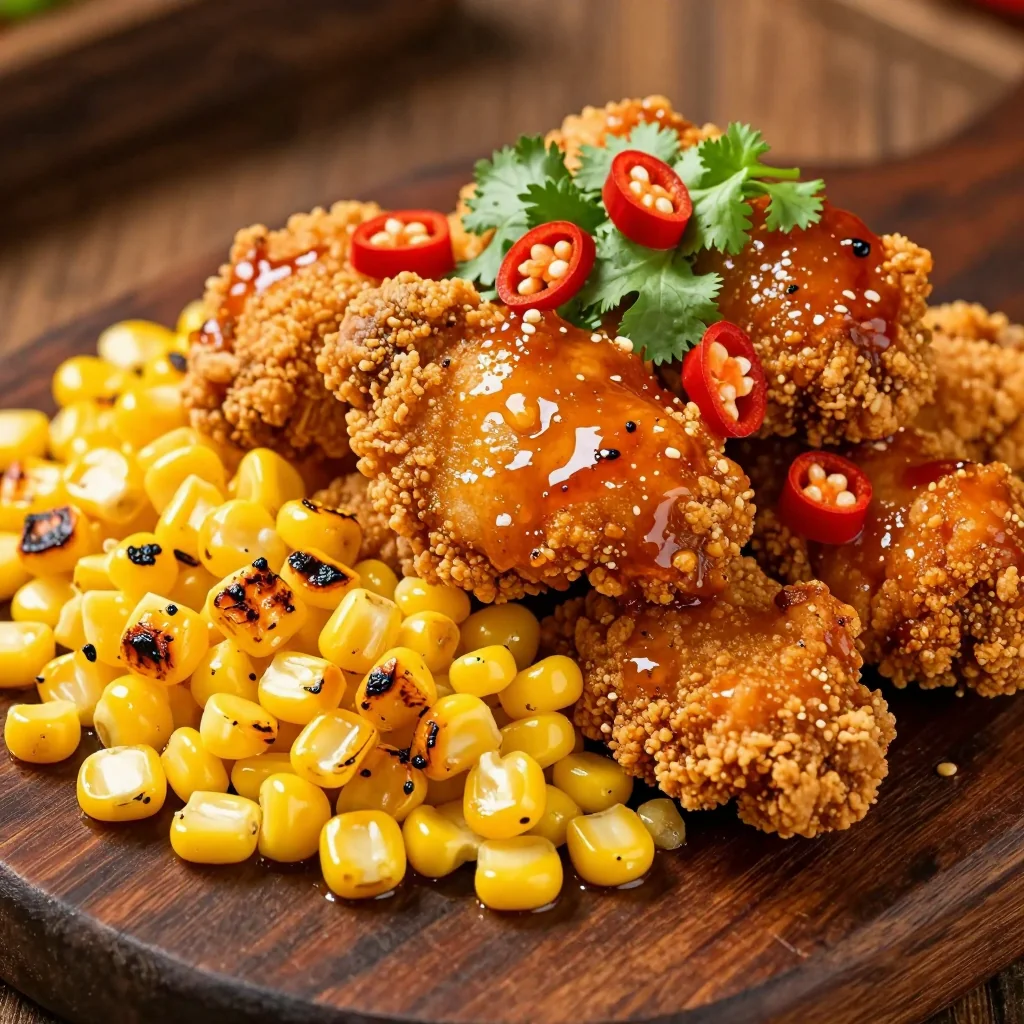
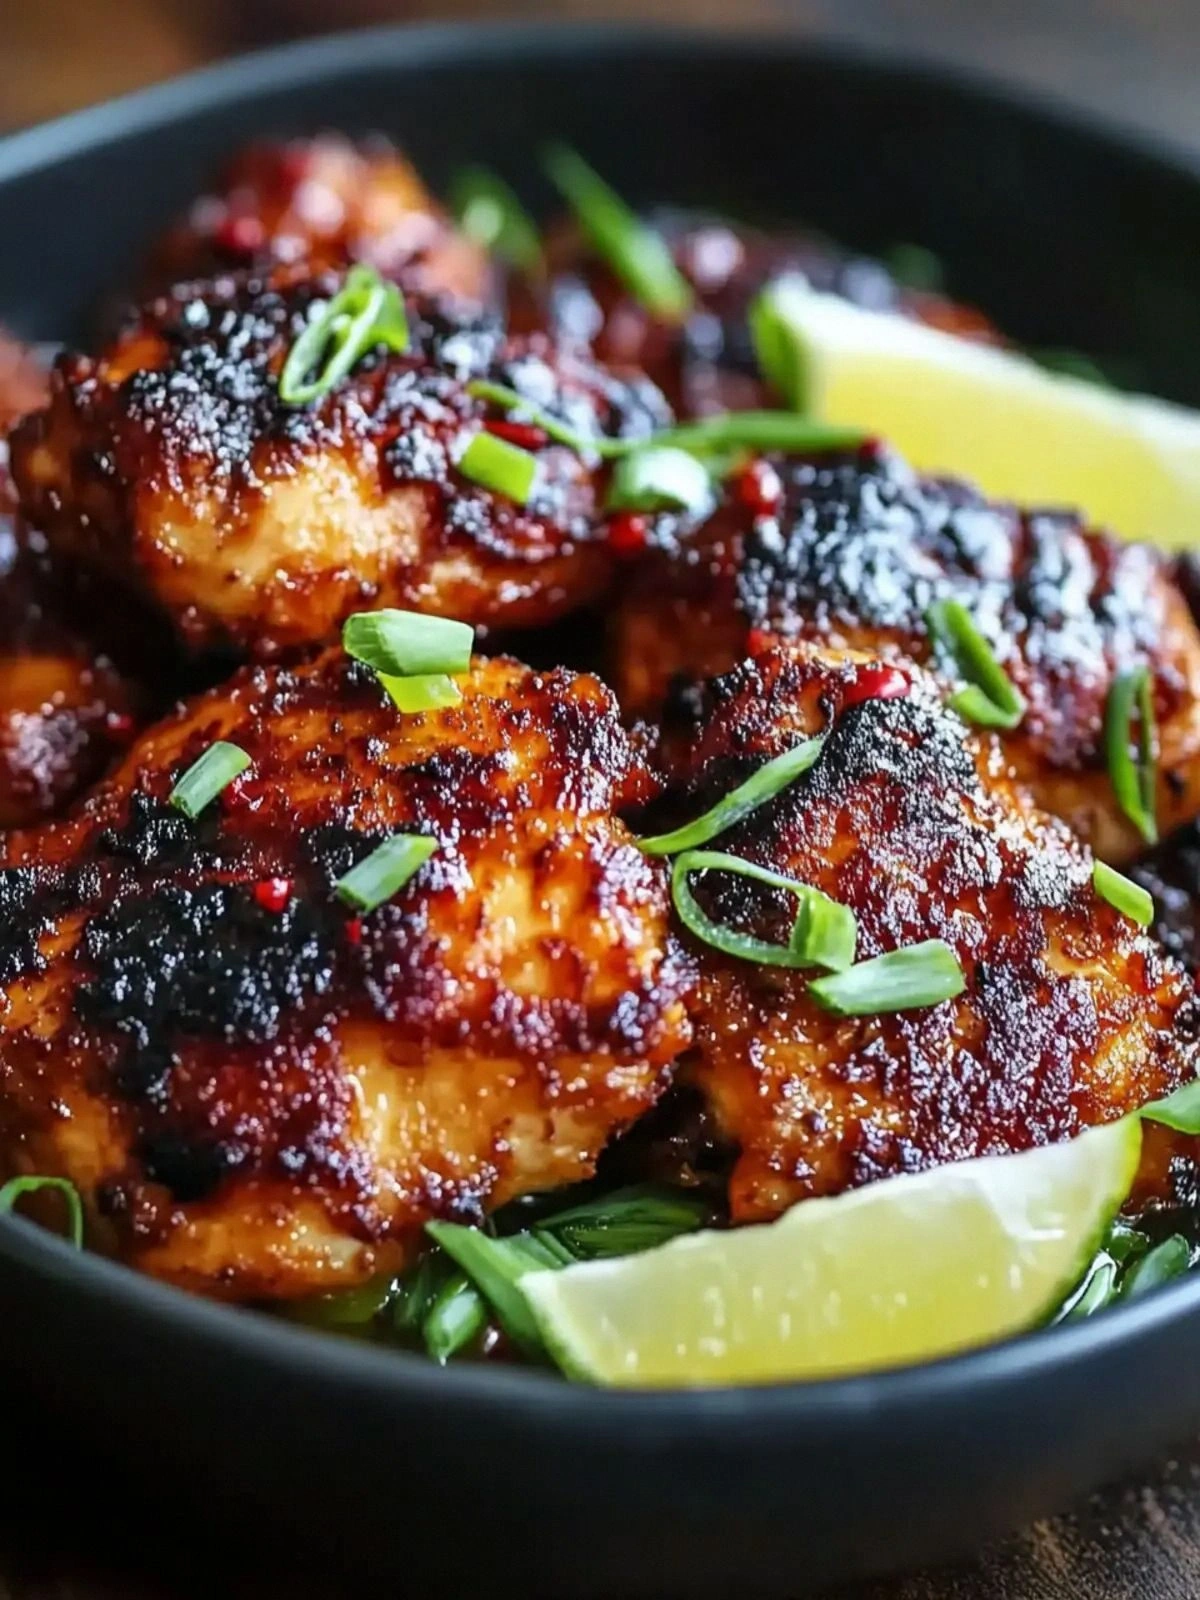
Spicy Huli Huli
Add a tablespoon of sriracha or chopped fresh chili to the sauce for a fiery kick. The heat pairs beautifully with the sweetness, creating a balanced flavor profile.
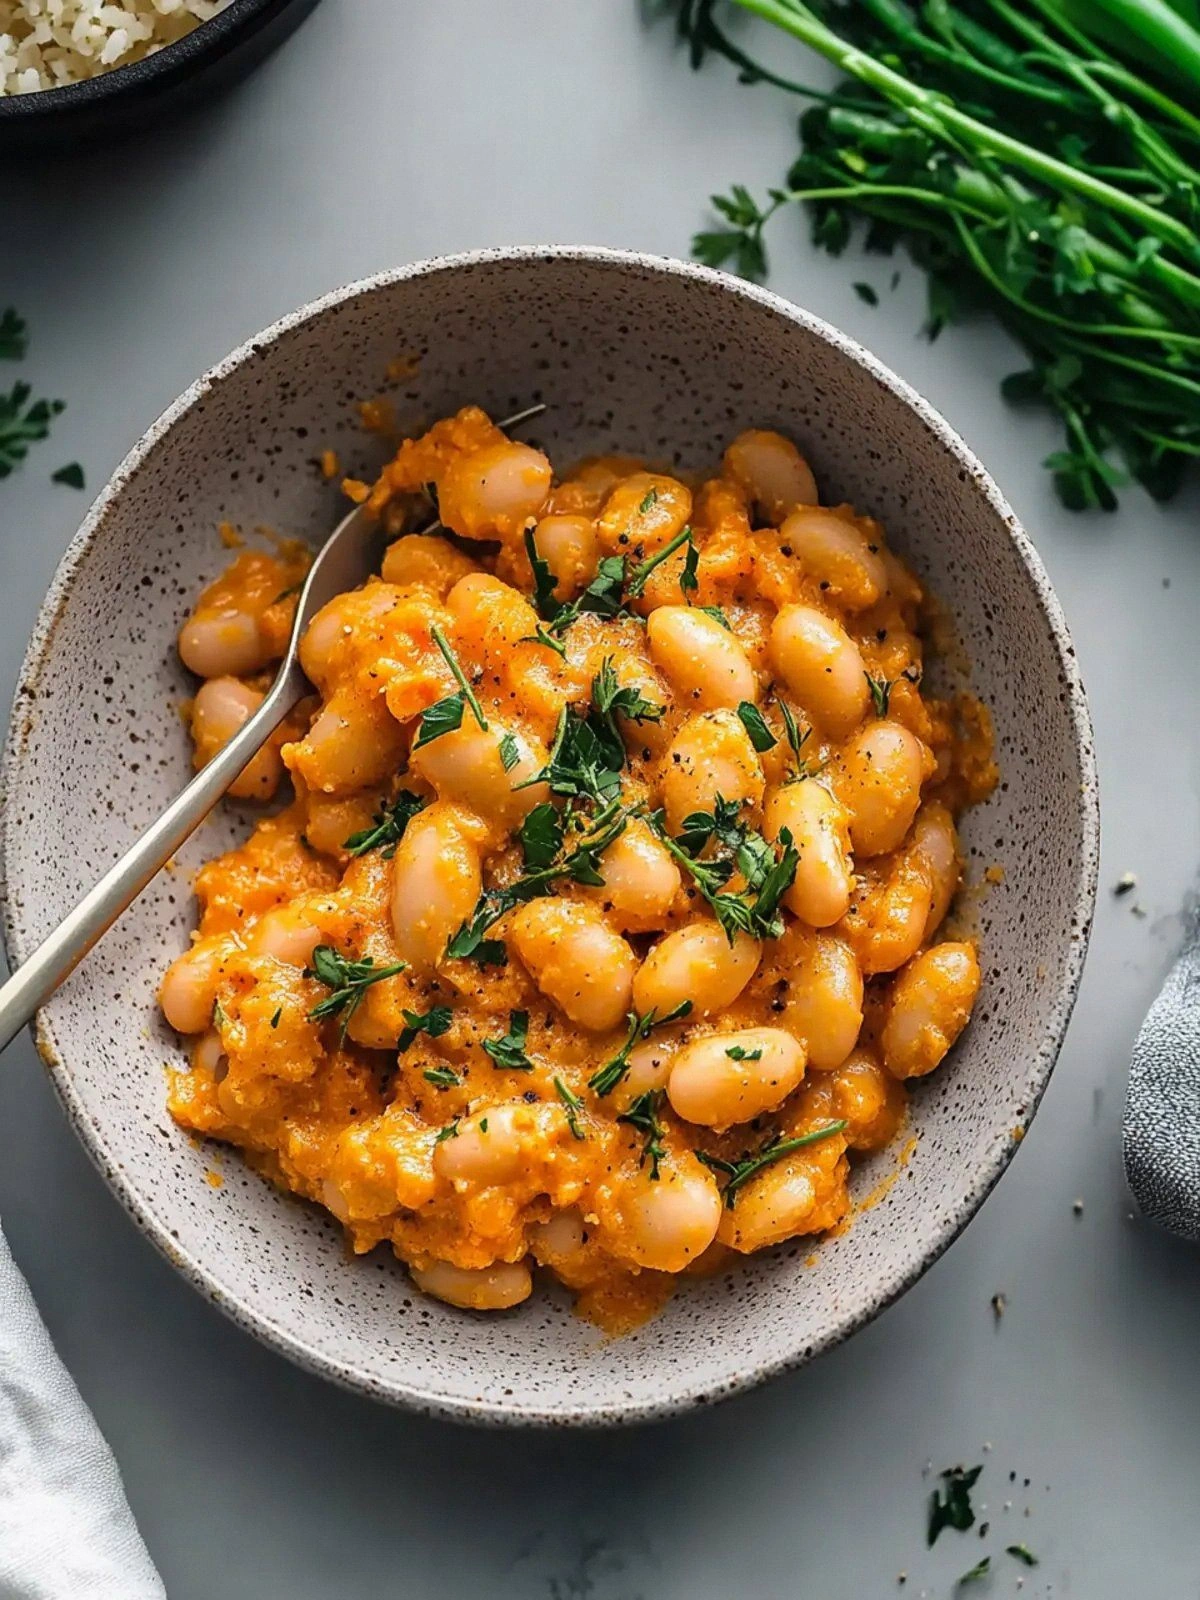
Vegan Version
Swap the chicken for thick slices of tofu or tempeh. Marinate them in the sauce, then pan‑sear and bake as directed. The tofu will absorb the glaze and become savory and slightly sweet.
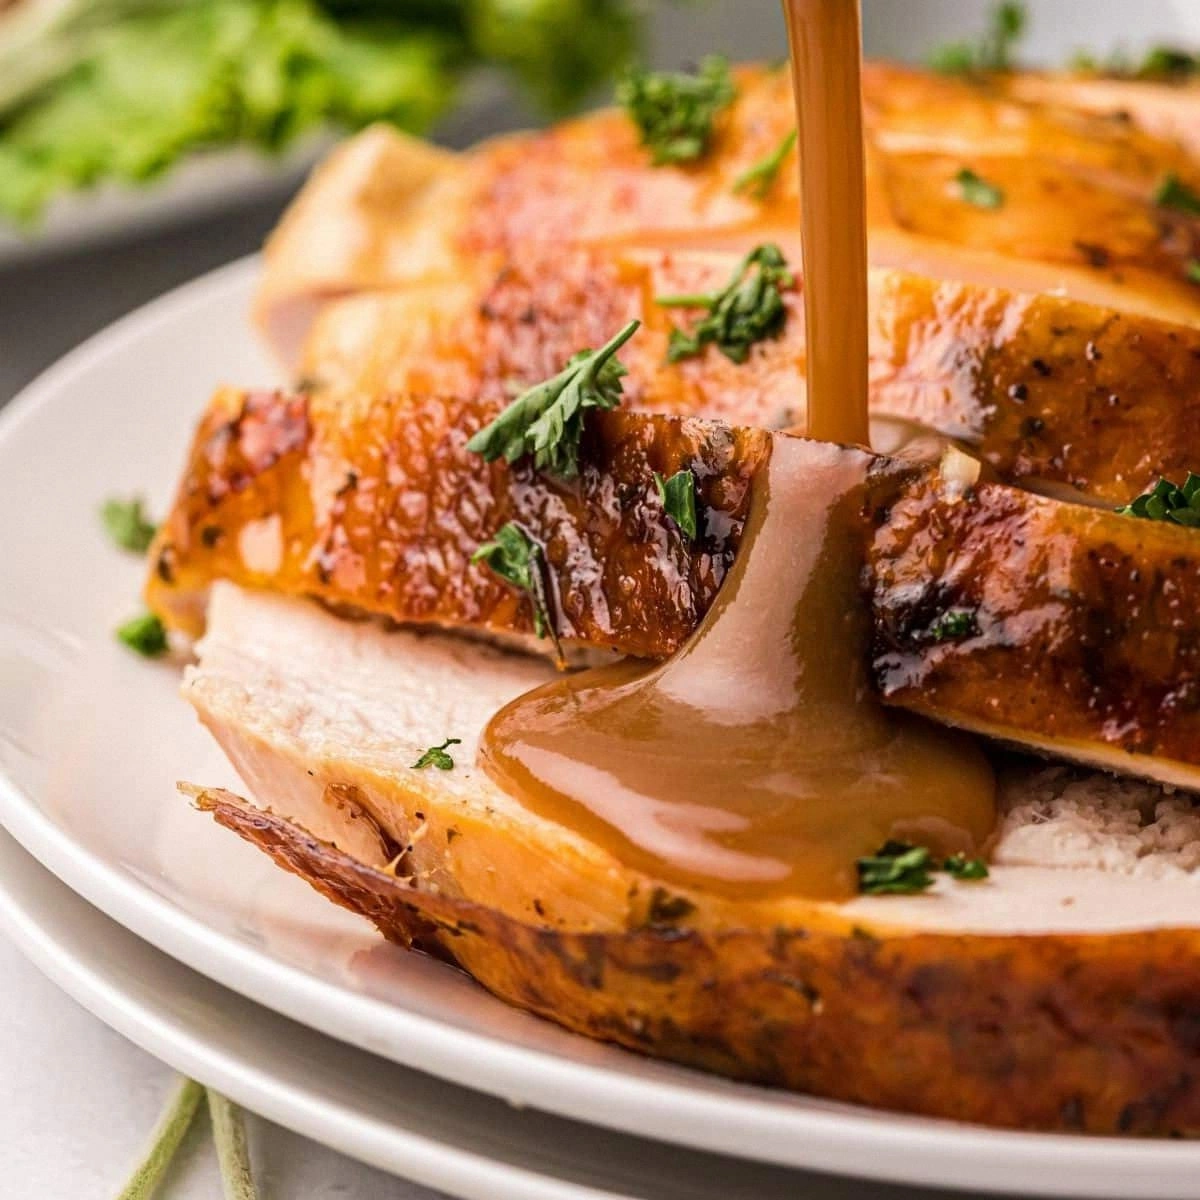
Pork Shoulder Variation
Use a bone‑in pork shoulder instead of chicken. The slow cooking time (about 2 hours) allows the pork to become fall‑apart tender while soaking up the tropical glaze.
Grilled Huli Huli
Grill the marinated chicken on medium heat for 6 minutes per side. The grill marks add a smoky flavor that complements the sweet glaze.
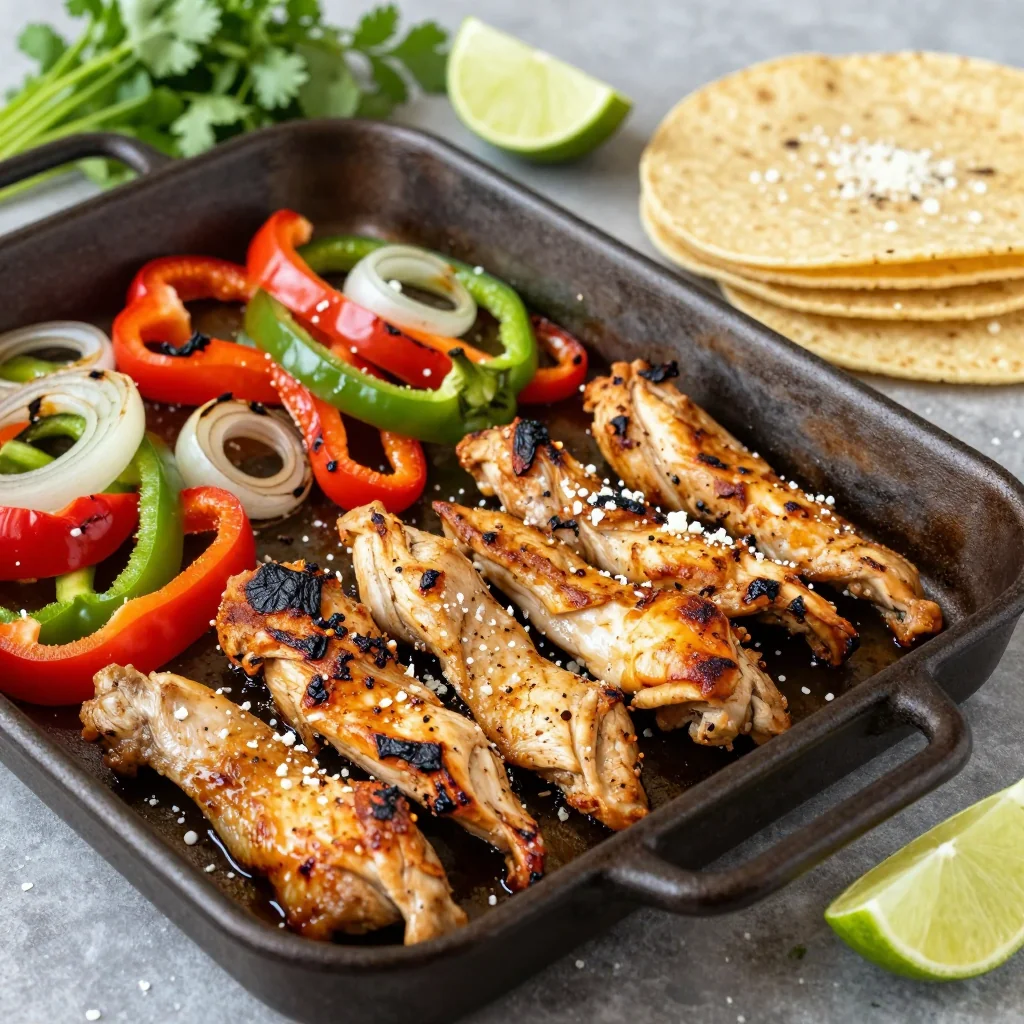
Quick One‑Pan Dinner
Add sliced bell peppers and onions to the skillet during the searing step. They’ll caramelize with the glaze, creating a one‑pan meal that’s both colorful and flavorful.
Glazed Shrimp
Use shrimp instead of chicken for a quick seafood twist. Cook the shrimp in the sauce for 3 minutes, then finish with a squeeze of lime and a sprinkle of cilantro.
Storing and Bringing It Back to Life
Fridge Storage
Cool the chicken completely before placing it in an airtight container. It will keep well for up to 4 days in the refrigerator. When you’re ready to reheat, do so gently to avoid drying out the meat.
Freezer Friendly
Wrap each thigh individually in parchment paper and place them in a freezer bag. This method prevents freezer burn and makes it easy to thaw one or two pieces at a time. Store for up to 3 months.
Best Reheating Method
Reheat in the oven at 350°F (175°C) for 10–12 minutes, or until warmed through. Add a tiny splash of water or broth before reheating; this steams the meat back to perfection and keeps the glaze from drying out.
Now that you’ve mastered the classic, you’re ready to experiment. Whether you keep it traditional or add your own twist, this dish will become a staple in your culinary repertoire.