It was a blustery December evening, the kind that makes you crave comfort food while your kitchen feels like a winter battlefield. I was juggling a last‑minute dinner party and a new vegan cookbook that promised a “cheesecake” that wouldn’t melt my heart or my budget. The moment I cracked open the can of plant‑based cream cheese, a familiar sigh escaped me—there was a way to make a dessert that feels indulgent yet stays plant‑based. I dared my friends to try a slice before the dessert was even plated, and they all agreed to the challenge. The aroma that began to fill the air was a sweet, spiced promise of holiday cheer, and I knew this would be a story I’d share for years to come.
Picture this: a creamy, velvety cheesecake that feels like a holiday hug, but with no dairy involved. What sets this version apart is the way it marries the nostalgic warmth of eggnog with the luxurious mouthfeel of tofu and vegan cream cheese. The crust is a buttery graham cracker base that snaps like a crisp snowflake, providing a perfect contrast to the silky filling. I’ll be honest — I ate half the batch before anyone else got to try it, and the taste was so addictive that I almost blamed myself for the midnight snack. If you’ve ever struggled with making a vegan cheesecake that doesn’t feel like a compromise, you’re not alone — and I’ve got the fix.
The secret sauce? A splash of maple syrup that balances the spices, and a generous pinch of ginger powder that adds a subtle kick. The tofu is pureed until it’s smoother than a freshly shaved ice surface, ensuring every bite is creamy without any lumps. I dared you to taste this and not go back for seconds, and trust me, it’s a dare you’ll gladly accept. The result is a dessert that’s rich, sweet, and slightly spiced, all while staying light enough to enjoy without the heaviness of traditional cheesecake. This is hands down the best version you'll ever make at home.
Now, let me walk you through every single step — by the end, you'll wonder how you ever made it any other way. The process is straightforward, but the payoff is extraordinary: a cheesecake that looks elegant on a platter and tastes like a holiday dream. I’ll keep the instructions clear, sprinkle in some humor, and offer a few tricks to keep you from going off track. Whether you’re a seasoned vegan baker or a curious newcomer, this recipe will feel like a warm, comforting hug. So grab your apron, and let’s dive into the magic together.
What Makes This Version Stand Out
- Taste: The blend of eggnog, maple syrup, and spices creates a flavor profile that is unmistakably festive yet universally comforting. The sweetness is balanced by the warm spices, preventing any cloying aftertaste.
- Texture: Pureed tofu and vegan cream cheese give the cheesecake a silky, custard‑like consistency that melts in your mouth. The crust adds a delightful crunch that contrasts with the filling.
- Simplicity: No specialized equipment is required; a food processor, a 9‑inch springform pan, and a standard oven are all you need. The recipe is streamlined, so you can focus on enjoying the process.
- Uniqueness: The use of vegan eggnog as a flavor base is a game‑changer, infusing the dessert with holiday cheer while keeping it plant‑based.
- Audience Appeal: It satisfies both vegans and non‑vegans alike, making it a perfect centerpiece for family gatherings and holiday parties.
- Ingredient Quality: Each component is chosen for its flavor, texture, and nutritional profile, ensuring a balanced and satisfying dessert.
- Make‑Ahead Potential: Once baked, the cheesecake can be refrigerated for up to a week, allowing you to prepare ahead of the big day.
- Presentation: The finished cheesecake is a stunning, glossy masterpiece that will impress guests before the first bite.
Alright, let's break down exactly what goes into this masterpiece…
Inside the Ingredient List
The Flavor Base
The heart of this cheesecake lies in the eggnog and maple syrup combination, which delivers a rich, holiday aroma that instantly transports you to a cozy living room. The maple syrup not only sweetens but also adds a subtle caramel depth that balances the spices. If you’re feeling adventurous, you can substitute the maple syrup with a splash of bourbon for an adult twist, though it will alter the vegan nature of the dessert. Skipping the maple syrup will leave the filling a bit flat, lacking that silky, sweet finish.
The Texture Crew
Firm tofu is the backbone of the filling, providing a neutral flavor that absorbs the spices and maintains a smooth consistency. Pureeing the tofu until it’s almost liquid ensures there are no lumps, giving the cheesecake its signature silky texture. Vegan cream cheese adds richness and a slight tang, mirroring the classic dairy cream cheese but without the dairy. A pinch of cornstarch is essential to stabilize the mixture, preventing the filling from cracking as it cools.
The Unexpected Star
The vegan eggnog is a game‑changer, infusing the dessert with a distinct holiday flavor that sets it apart from ordinary cheesecake. It’s made from plant‑based milk, nut milk, and spices, creating a creamy base that blends seamlessly with the tofu and cream cheese. If you can’t find vegan eggnog, a homemade version using oat milk, vanilla, and nutmeg works wonderfully. Without the eggnog, the cheesecake would lose its signature holiday essence and feel like a generic dessert.
The Final Flourish
The graham cracker crust offers a buttery, crumbly foundation that balances the filling’s richness. The crust is sweetened with brown sugar and lightly spiced, giving it a subtle depth that complements the main flavors. Vegan whipped topping crowns the cheesecake, adding a light, airy contrast that makes each bite feel like a holiday cloud. If you prefer a dairy‑free whipped topping, a simple cashew cream whipped to peaks can substitute without compromising texture.
Everything's prepped? Good. Let's get into the real action…
The Method — Step by Step
- Preheat your oven to 325°F (163°C). Line a 9‑inch springform pan with parchment paper and lightly grease the sides with vegan butter to ensure easy release. The parchment will also add a subtle crispness to the crust edges. I dare you to taste the crust before you even touch the filling, because it’s that buttery, crumbly perfection that sets the stage.
- In a small saucepan, gently heat the vegan butter until it melts, then stir in the graham cracker crumbs and brown sugar until the mixture becomes fragrant and glossy. The butter will coat the crumbs like velvet, creating a cohesive crust base. Be sure not to over‑cook, or the crumbs will become too dry and brittle.
- Press the crumb mixture firmly into the bottom of the prepared pan, using the back of a spoon to smooth it out. If you’re short on time, you can skip the toasting step for the crumbs; simply mix them with melted vegan butter and press into the pan for a quick shortcut. This is where the magic begins, and you’ll feel the anticipation building.
- In a high‑speed blender, combine the firm tofu, vegan cream cheese, maple syrup, and vanilla extract. Blend until the mixture is as smooth as a silky custard, with no visible lumps or chunks. The tofu’s neutrality allows the spices to shine through, creating a balanced flavor profile.
- Add the vegan eggnog, ground cinnamon, nutmeg, ginger powder, and cornstarch to the blender. Pulse a few times to incorporate the spices, then blend again until fully integrated. The cornstarch will help set the filling, preventing cracks as it cools.
- Pour the smooth filling over the crust, smoothing the top with a spatula. The filling should glide over the crust like a creamy river. Keep an eye on the edges; they will start pulling away as the cheesecake sets.
- Bake in the preheated oven for 45 minutes, or until the center is set but still slightly wobbling. The edges will turn golden brown, signaling that the cheesecake has reached perfection. Watch the timer closely; overbaking will cause cracks and a dry texture.
- Once the cheesecake has cooled to room temperature, cover it with plastic wrap and refrigerate for at least 4 hours, preferably overnight. This chilling period allows the flavors to meld and the texture to firm up. When you’re ready to serve, top the cheesecake with the whipped topping, drizzle a thin ribbon of maple syrup, and garnish with a sprinkle of nutmeg.
- Before serving, let the cheesecake sit at room temperature for about 10 minutes to soften slightly. The creamy filling will become even more luscious, and the crust will regain its buttery crunch. Take a bite, and let the flavors dance across your palate like a holiday symphony.
- Enjoy the moment and share the joy with your guests. Remember, the best part of this cheesecake is the experience it creates—warmth, aroma, and a sense of holiday magic all wrapped into one dessert. Keep the leftovers chilled, and you’ll have a decadent treat ready for the next gathering.
That's it — you did it. But hold on, I've got a few more tricks that'll take this to another level…
Insider Tricks for Flawless Results
The Temperature Rule Nobody Follows
Many bakers bake at 350°F, assuming the higher temperature will set the cheesecake faster. In reality, a lower temperature of 325°F allows the filling to set evenly, preventing cracks and a rubbery texture. I once baked at 350°F and ended up with a cracked surface that looked like a broken window. Stick to 325°F for a smooth, glossy finish.
Why Your Nose Knows Best
During baking, pay close attention to the aroma; a warm, spiced scent is a sign of progress. If the smell becomes overly sweet or burnt, you’re over‑baking. A subtle nutty aroma indicates the crust is just right. Trust your senses—they’re your best judge of readiness.
The 5-Minute Rest That Changes Everything
After removing the cheesecake from the oven, let it rest in the oven with the door slightly ajar for 5 minutes. This gradual cooling prevents the cheesecake from cracking and allows the filling to set more uniformly. A friend once skipped this step and ended up with a wobbly center that collapsed when sliced.
The Whipped Topping Secret
Whipped topping should be added right after the cheesecake has cooled to prevent it from melting. If you wait too long, the topping will lose its peaks and become runny. Whisk it just until soft peaks form, then drizzle it in a lazy, elegant swirl. The texture contrast will be a highlight of the final presentation.
The Final Flourish: A Dusting of Spice
A final sprinkle of ground cinnamon or nutmeg right before serving adds a visual pop and a burst of aroma. It also ties the flavors together, reminding everyone of the holiday spirit. A pinch of fresh ginger powder can add a subtle kick if you’re feeling adventurous.
Creative Twists and Variations
This recipe is a playground. Here are some of my favorite ways to switch things up:
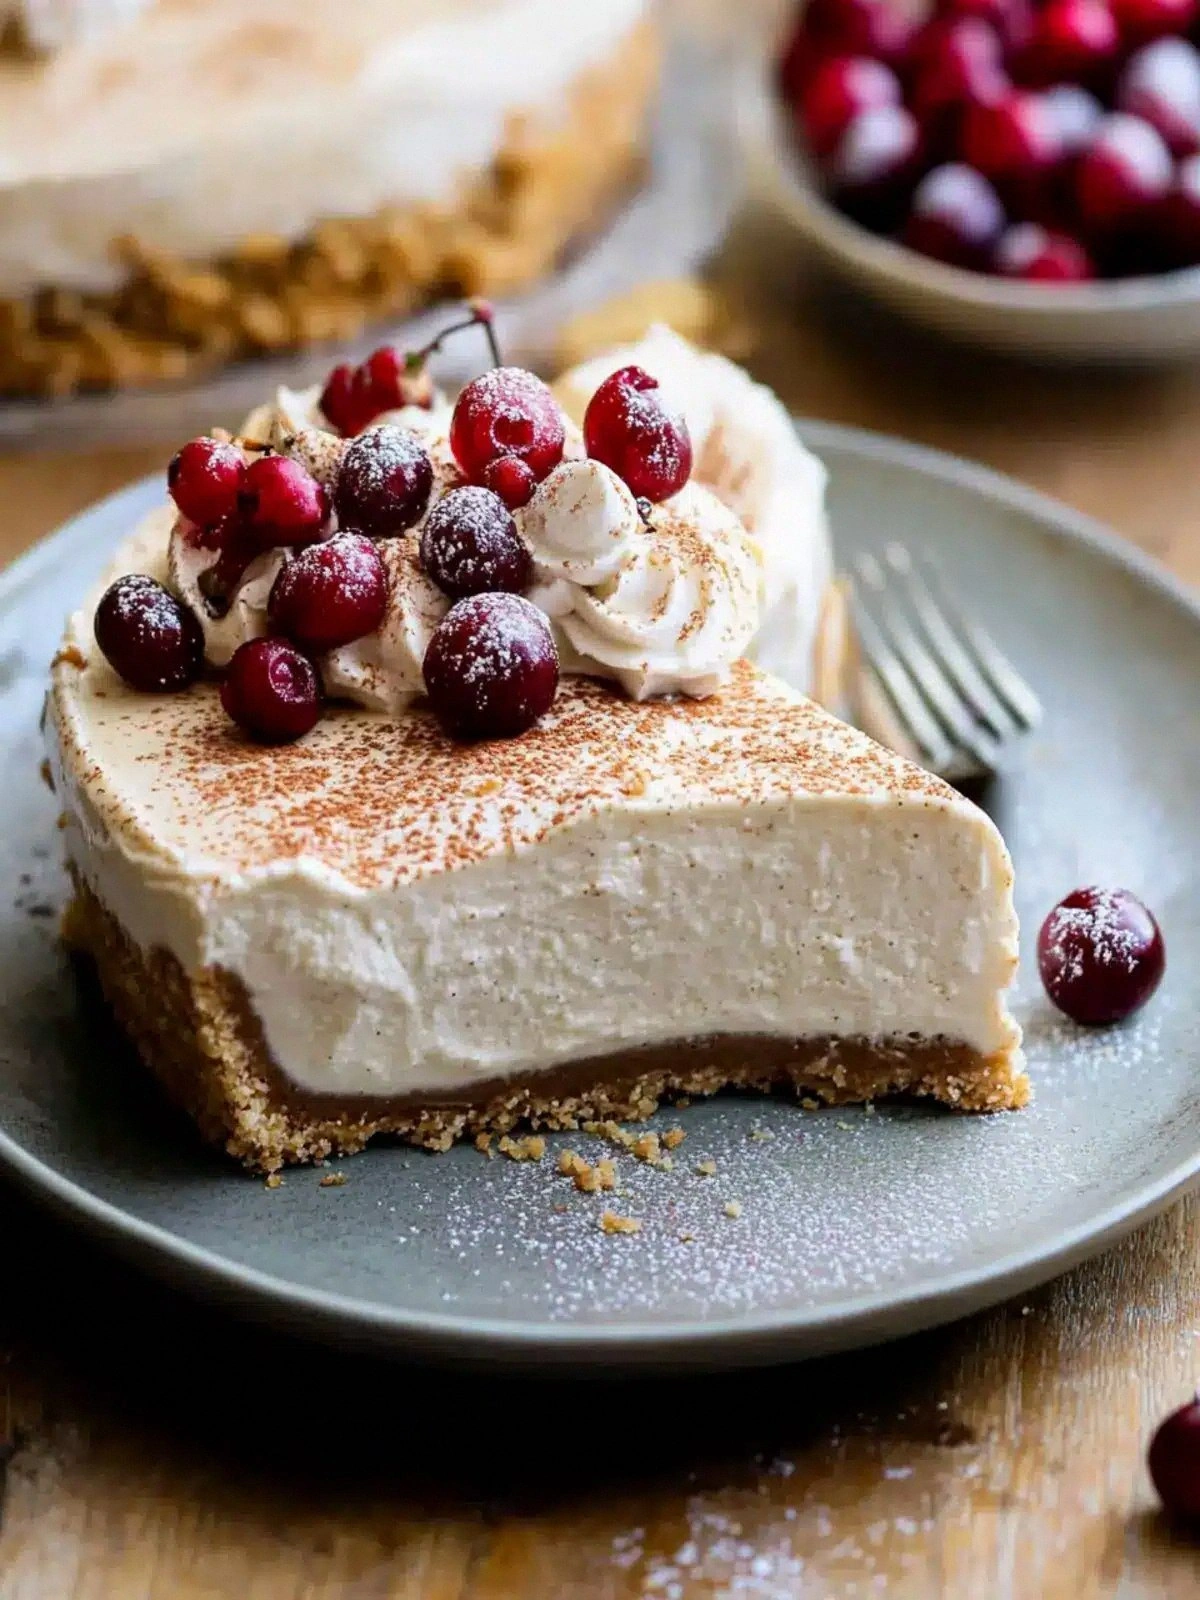
Cranberry Burst
Fold in a cup of fresh or frozen cranberries before baking. The tartness will cut through the sweetness, creating a balanced, holiday‑themed flavor. The cranberries also add a pop of color that makes the cheesecake visually stunning.
Chocolate‑Infused Delight
Add 2 tablespoons of unsweetened cocoa powder to the filling for a rich chocolate undertone. The cocoa pairs beautifully with the eggnog spices, giving the dessert a luxurious depth. Dust the top with cocoa powder for an extra touch of elegance.
Almond Crunch
Replace the graham cracker crust with almond flour and chopped toasted almonds for a nutty crunch. The almond flavor will complement the maple syrup and spices, creating a sophisticated taste profile. This variation also adds a subtle nutty aroma that enhances the overall sensory experience.
Spiced Pumpkin Swirl
Stir in 1/2 cup of pumpkin puree into the filling for a seasonal twist. The pumpkin adds natural sweetness and a creamy texture that blends seamlessly with the tofu. This version is perfect for those who love the classic pumpkin pie flavor.
Lemon Zest Surprise
Add the zest of one lemon to the filling for a bright, citrusy note that cuts through the richness. The lemon zest pairs wonderfully with the eggnog spices, giving the cheesecake a fresh, lively finish. A few lemon wedges on the side can also serve as a decorative garnish.
Storing and Bringing It Back to Life
Fridge Storage
Store the cheesecake in an airtight container in the refrigerator for up to 5 days. Keep it wrapped in plastic wrap to prevent it from absorbing odors from other foods. When you’re ready to serve, let it sit at room temperature for 10 minutes to soften the filling.
Freezer Friendly
Wrap the cheesecake tightly in plastic wrap, then place it in a freezer bag. It can be frozen for up to 3 months. Thaw it in the refrigerator overnight, then let it sit at room temperature for a short time before serving.
Best Reheating Method
If you need to warm the cheesecake, set the oven to 250°F (120°C) and place the cheesecake on a baking sheet for 15 minutes. This gentle heat will revive the filling without over‑cooking it. Add a tiny splash of water to the pan to create steam, ensuring the cheesecake stays moist and luscious.