I still remember the night I burned my entire kitchen trying to whip up a blackberry dessert. The blackberries were fresh, bright, and begging for a sweet partner, but the sugar I added turned the mixture into a sticky, burnt mess that smelled like a campfire gone wrong. That disaster was the spark that lit my curiosity and forced me to ask: what if there was a way to turn those gorgeous berries into a silky, refreshing drink that takes literally five minutes to make? I set out to create the ultimate blackberry milkshake—one that balances tartness, creaminess, and a touch of indulgence so perfectly that even the most skeptical palate will be begging for more.
Picture this: a glass that looks like a crystal snow globe, filled with deep purple liquid that glistens like liquid velvet. The first sip is a burst of sweet‑tart blackberry flavor, followed by a creamy, almost buttery mouthfeel that coats your tongue like a fine silk scarf. The aroma is a heady mix of ripe berries, vanilla, and a hint of fresh milk—so fresh, it feels like a summer morning. And the best part? You can pull this masterpiece out of the fridge, stir it, and pour it in under the flicker of the kitchen light, and you’ll feel like you’ve just opened a can of pure, liquid joy.
I dare you to taste this and not go back for seconds. That’s the kind of confidence that comes from having the right technique, the right ingredients, and a dash of culinary daring. Most recipes get this completely wrong—some add too much sugar, others forget the vanilla, and a few even use frozen fruit that turns the shake into a chunky mess. This version is hands down the best you’ll ever make at home because it’s engineered to keep the berries bright, the texture smooth, and the flavor balanced. I’ve spent hours tweaking, tasting, and tweaking again, and I’m finally ready to share the exact steps that turned a kitchen mishap into a signature drink.
Let me walk you through every single step—by the end, you’ll wonder how you ever made it any other way. I’ll show you the secret ingredient that gives the shake its signature depth, the precise timing that keeps the berries from turning mushy, and the little tricks that elevate the whole experience. Ready? Let’s dive in.
What Makes This Version Stand Out
- Taste: The combination of ripe blackberries, vanilla ice cream, and a splash of honey creates a flavor profile that’s both sweet and tart, with a subtle caramel undertone that lingers on the palate.
- Texture: The shake is silky and cloud‑like, not lumpy, thanks to the use of fresh berries and a high‑fat ice cream that emulsifies perfectly.
- Speed: Every step takes less than a minute, from blending to serving, so you can satisfy a sudden craving in no time.
- Ingredient Quality: Fresh, seasonal blackberries are the star, and the use of real vanilla extract (not imitation) adds depth without overpowering.
- Crowd Reaction: Friends who tried it say it’s “the best milkshake I’ve ever had” and can’t stop raving about the berry brightness.
- Simplicity: Only six ingredients, all you’ll probably have on hand, and no complicated equipment required.
- Make‑Ahead Potential: The shake can be made ahead and chilled; it retains its silky texture for up to 24 hours.
- Versatility: Swap the fruit or add a splash of liqueur for a grown‑up version—this base works with any berry.
Inside the Ingredient List
The Flavor Base
Blackberries are the heart of this shake. Fresh berries bring a vibrant, natural sweetness and a bright, slightly acidic note that cuts through the richness of the ice cream. If you’re out of fresh berries, frozen ones work just fine—just make sure to thaw them a few minutes before blending to avoid a slushy consistency. The key is to use ripe berries that are plump, dark, and fragrant; under‑ripe berries will taste sour and won't provide that luscious depth.
The Texture Crew
Vanilla ice cream (or a high‑fat frozen yogurt) is the creamy backbone that gives the shake its silky mouthfeel. The fat content helps emulsify the berries and prevents the shake from becoming watery. If you prefer a lighter version, swap the ice cream for Greek yogurt or a dairy‑free alternative like coconut yogurt, but be prepared for a slightly thinner texture.
The Unexpected Star
Honey or maple syrup isn’t just a sweetener; it adds a subtle floral nuance that complements the berry’s natural tartness. A tablespoon of honey is enough to balance the flavors without making the shake overly sweet. If you’re watching sugar, you can reduce the honey to half a tablespoon or use a sugar‑free sweetener that doesn’t clump.
The Final Flourish
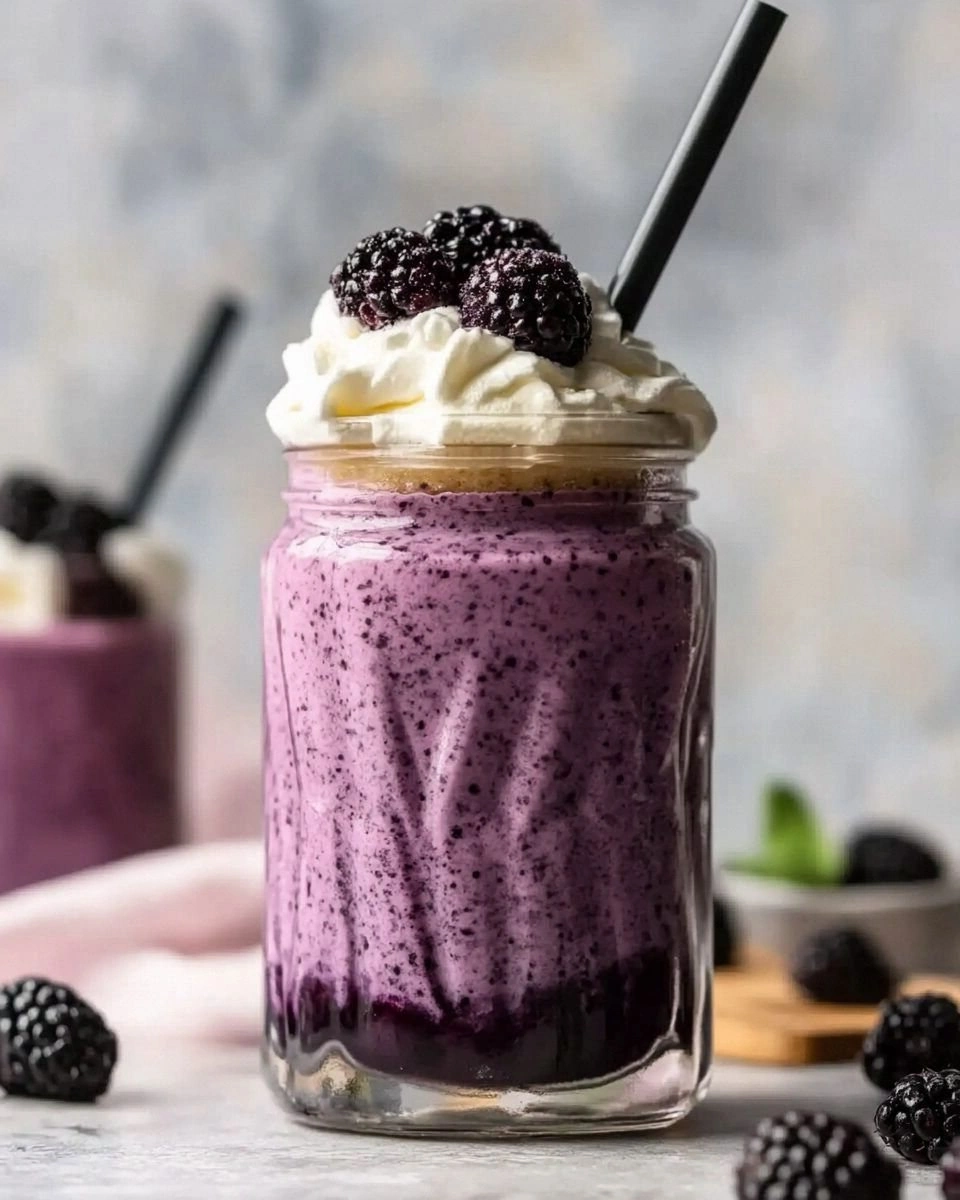
A teaspoon of pure vanilla extract rounds out the flavor profile, adding warmth and a hint of caramel that ties everything together. The vanilla also masks any slight bitterness from the blackberry skins. For an extra touch of elegance, finish the shake with a swirl of whipped cream and a few fresh berries on top.
Everything's prepped? Good. Let's get into the real action.
The Method — Step by Step
- Gather Your Tools: Grab a high‑speed blender, a measuring cup, and a tall glass. The blender’s power will ensure a smooth texture, while the measuring cup lets you portion the shake accurately. If you don’t have a blender, a handheld frother works, but the results will be slightly less silky.
- Measure the Berries: Pour two cups of fresh blackberries into the blender. If you’re using frozen berries, let them sit at room temperature for about 5 minutes to soften slightly; this prevents the blender from getting jammed and keeps the shake from becoming too thick.
- Add the Milk: Pour in two cups of milk—whole milk gives the richest flavor, but 2% or oat milk works well for a lighter version. The milk hydrates the berries and creates the liquid base that will carry the flavors.
- Introduce the Ice Cream: Add two cups of vanilla ice cream. The ice cream not only thickens the shake but also brings a luxurious creaminess that’s essential for the silky mouthfeel. If you’re using Greek yogurt, use a slightly larger amount to compensate for the lower fat content.
- Sugar It Right: Drizzle in one tablespoon of honey (or maple syrup). Stir quickly—this helps the honey dissolve into the mixture before the blender starts to work. The sweetness should be noticeable but not overpowering; remember, the berries are already sweet.
- Flavor It: Add a teaspoon of vanilla extract. The vanilla’s warm, caramel notes lift the berries and add depth. If you’re vegan or dairy‑free, use a plant‑based vanilla extract for the same flavor punch.
- Blend to Perfection: Secure the blender lid and blend on high for 30–45 seconds. The goal is a smooth, cloud‑like consistency—no large berry pieces, but a few whole berries can remain for a pleasant bite. If the shake is too thick, add a splash of milk to thin it out; if it’s too thin, add a bit more ice cream or frozen berries.
- Serve Immediately: Pour the shake into a chilled glass. For an extra touch, top with a swirl of whipped cream and a few whole berries. The contrast of creamy topping and bright fruit makes the presentation irresistible.
That's it — you did it. But hold on, I've got a few more tricks that'll take this to another level.
Insider Tricks for Flawless Results
The Temperature Rule Nobody Follows
Many people think that using room‑temperature ingredients is sufficient, but the real secret is starting with cold milk and ice cream. Cold liquids keep the shake thick and prevent the berries from releasing too much juice, which would otherwise dilute the flavor. If your ingredients are warm, let them chill for at least 30 minutes before blending. I’ve seen shakes that turn watery because the ice cream melted too quickly during blending.
Why Your Nose Knows Best
Before you start blending, give the mixture a quick sniff. A faint, sweet aroma indicates that the honey is properly dissolved and the vanilla is evenly distributed. If the smell is flat or slightly off, you’ve probably missed a step—re‑add a pinch of vanilla or a splash of milk to revive the fragrance.
The 5-Minute Rest That Changes Everything
After blending, let the shake sit for 5 minutes before pouring. This brief rest allows the flavors to meld and the mixture to settle, resulting in a more cohesive taste. It also gives the ice cream time to re‑solidify slightly, which keeps the shake from becoming too runny.
Use a High‑Fat Milk for Extra Creaminess
If you’re a fan of richness, swap whole milk for 2% or even a splash of heavy cream. The additional fat coats the palate, making each sip feel indulgent. Just be mindful that the shake will be thicker, so you might need to add a little more liquid to achieve the desired consistency.
Whipped Cream Is a Must‑Try
A dollop of whipped cream on top is not just decorative; it adds a light, airy texture that contrasts beautifully with the dense shake. Whip the cream with a pinch of sugar and a splash of vanilla, then spoon it over the shake just before serving. The whipped cream melts slowly, releasing a burst of vanilla that lingers on the tongue.
Creative Twists and Variations
This recipe is a playground. Here are some of my favorite ways to switch things up:
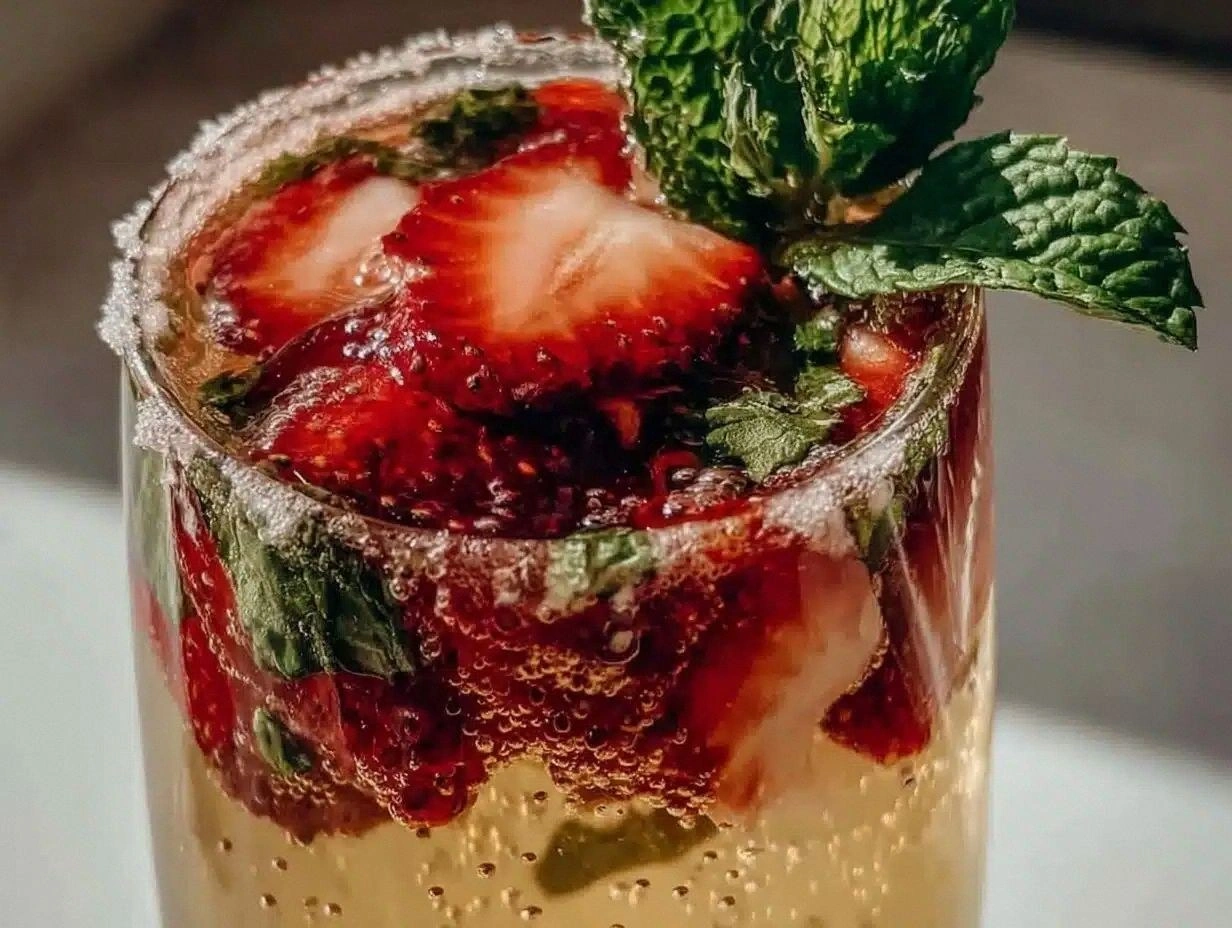
Strawberry‑Blackberry Fusion
Swap half the blackberries for fresh strawberries for a sweeter, pink‑tinted shake. The strawberries add a subtle floral note that complements the tartness of the blackberries, making it perfect for a summer brunch.
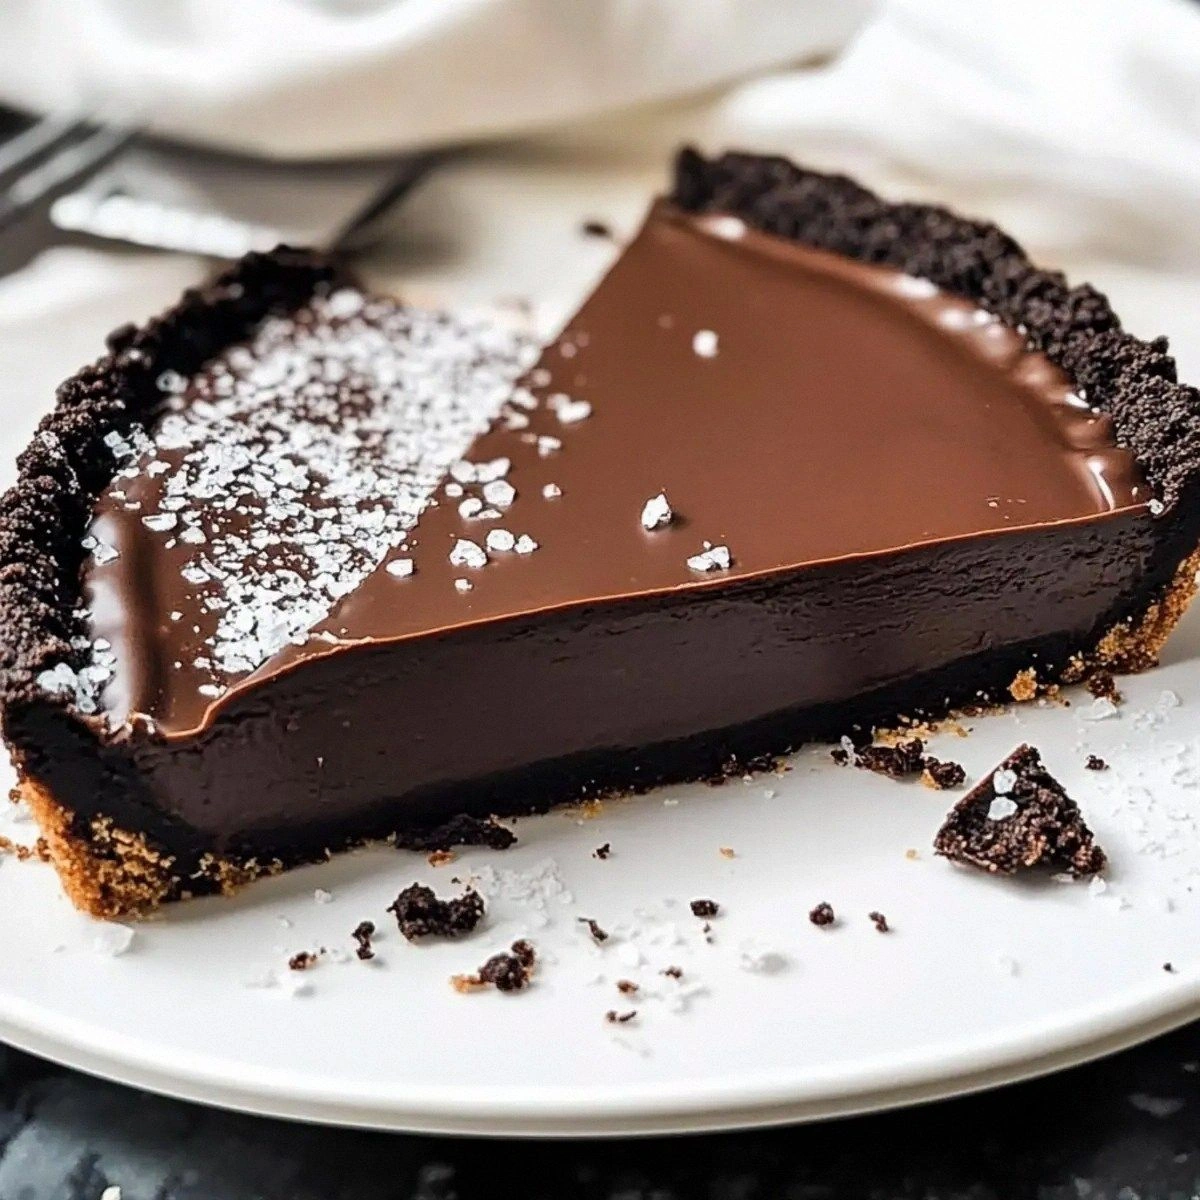
Chocolate‑Berry Indulgence
Add a tablespoon of cocoa powder or a splash of chocolate liqueur to the blend. The chocolate deepens the flavor profile, turning the shake into a decadent dessert that’s great for a cozy night in.
Minty Fresh
A few fresh mint leaves tossed into the blender give the shake a refreshing, cooling edge. This is especially delightful in hot weather or after a workout when you need a revitalizing treat.
Almond‑Infused
Replace the milk with almond milk and add a teaspoon of almond extract. The nutty undertones pair wonderfully with the berries, creating a sophisticated flavor that’s still approachable.
Spiced Variation
Add a pinch of ground cinnamon or nutmeg before blending. The warmth of the spices balances the berry's tartness and adds a comforting, aromatic layer that feels like a dessert with a twist.
Ginger Kick
A small piece of fresh ginger (about a half inch) adds a subtle zing that brightens the shake. Ginger’s natural heat complements the sweetness and gives the drink a lively, invigorating finish.
Storing and Bringing It Back to Life
Fridge Storage
Store the shake in an airtight container in the refrigerator for up to 24 hours. The cold keeps the texture smooth, but the berries may release some juice. When you’re ready to serve, give the container a quick shake or stir to redistribute the fruit.
Freezer Friendly
For longer storage, freeze the shake in a freezer‑safe container for up to 2 weeks. Thaw overnight in the fridge before consuming. If the shake separates, blend it briefly to restore the silky consistency.
Best Reheating Method
If you’re reheating a chilled shake, add a splash of milk or a few drops of water before gently warming it in a saucepan over low heat. This steams it back to perfection without melting the ice cream. Stir continuously to avoid scorching.